
Advanced Hybrid System
Operating Instructions
KX-TA308
MODEL KX-TA616
Please read this manual before connecting
the Advanced Hybrid System.
This manual was printed
with soy based ink.
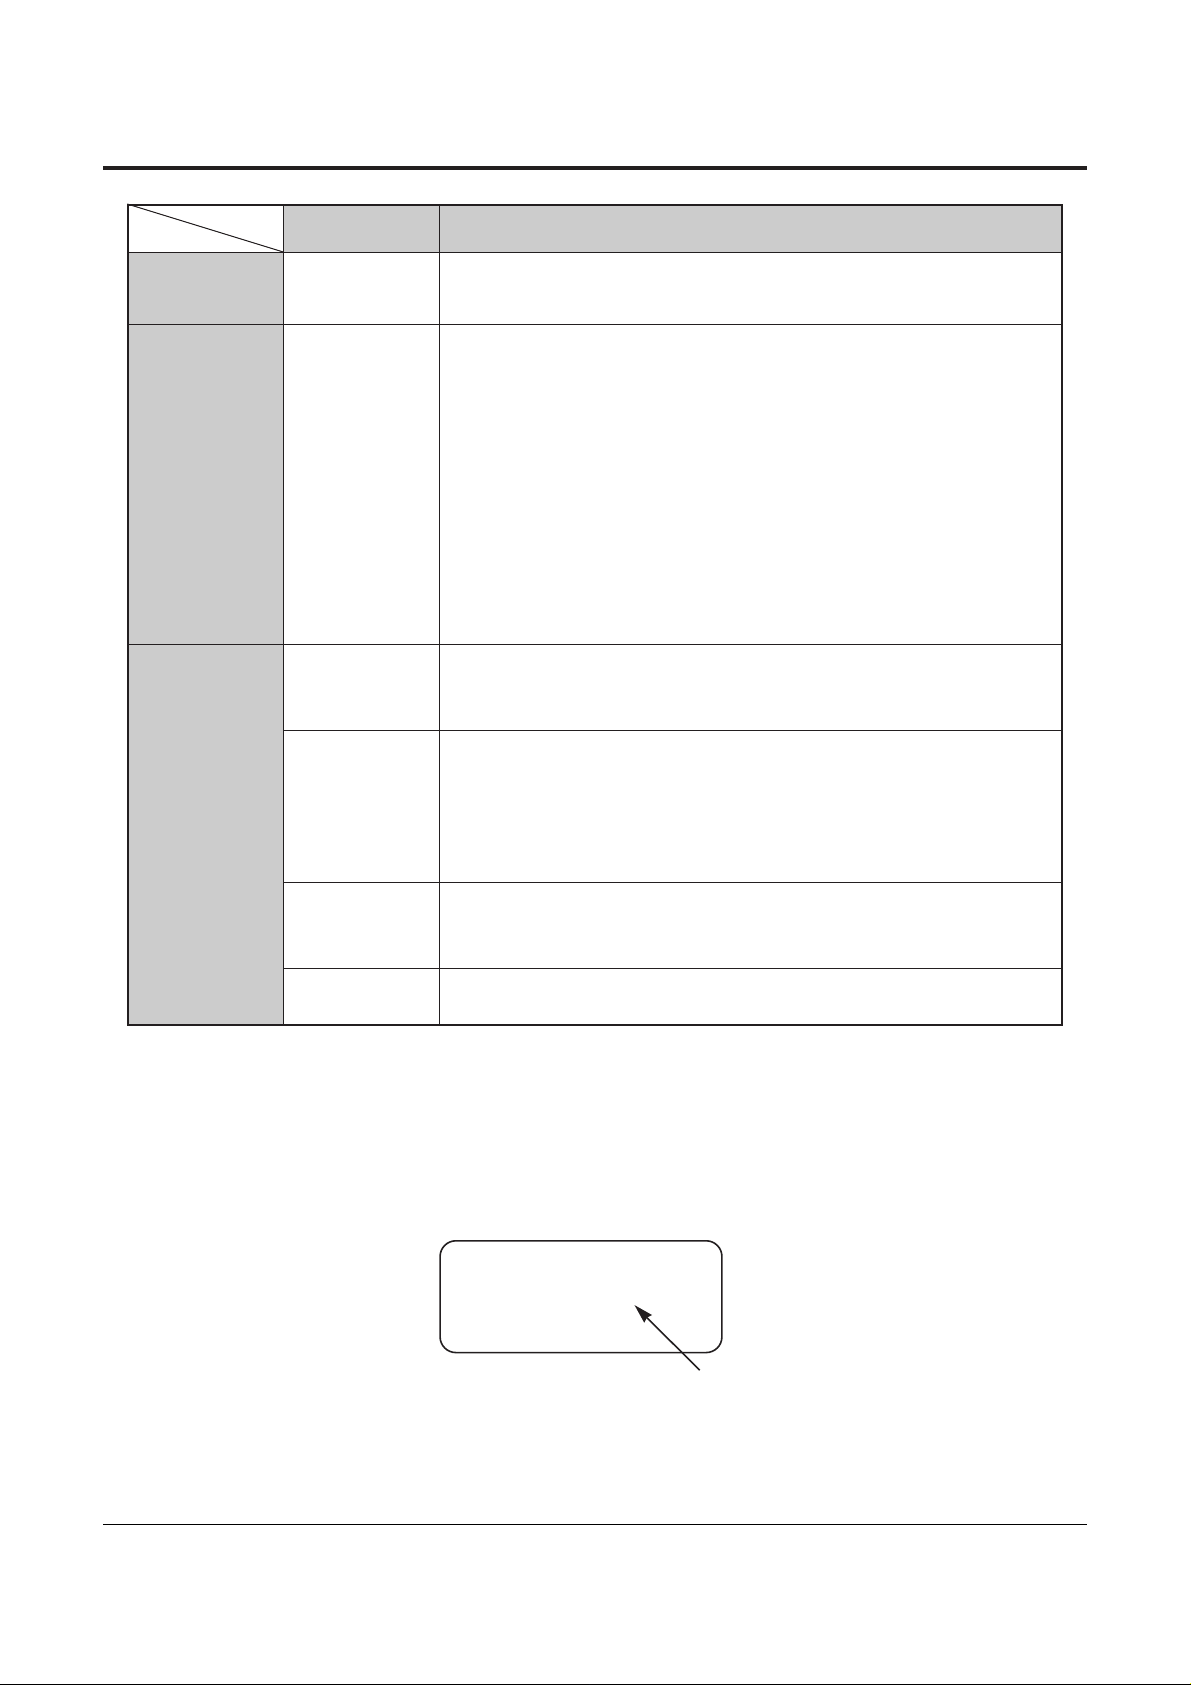
Service Unit
Telephone
Optional
Equipment
DescriptionModel No.
2
System Components
Thank you for purchasing a Panasonic Telephone System.
NOTICE:
• A Proprietary Telephone is abbreviated as PT.
• A Single Line Telephone is abbreviated as SLT.
• This Operating Instructions does not show the complete model number that indicates the country
where your models should be used. The model number of your unit is found on the label affixed to
the unit.
KX-TA308 /
KX-TA616
Advanced Hybrid System
KX-T7320
KX-T7330
KX-T7350
KX-T7020
KX-T7030
KX-T7033
KX-T7050
KX-T7055
KX-T7130
Proprietary Telephone (12 COs)
Proprietary Telephone with LCD (12 COs)
Proprietary Telephone (12 COs)
Proprietary Telephone (12 COs)
Proprietary Telephone with LCD (12 COs)
Proprietary Telephone with LCD (12 COs) and power failure
switch
Proprietary Telephone (12 COs)
Proprietary Telephone (3 COs)
Proprietary Telephone with LCD (12 COs)
KX-T7340
KX-T7040
KX-TA30860
KX-TA30874
KX-TA30877
KX-TA30891
KX-T30865
KX-T7090
KX-A227
DSS Console (32 DSSs and 16 Feature buttons)
DSS Console (32 DSSs and 16 Feature buttons)
Doorphone/Door Opener Card
Expansion Card (up to 8 extension lines for a single line telephone)
Expansion Card (up to 3 outside (CO) lines and 8 extension lines)
OGM and FAX Detection Card
Doorphone
Headset
Back-up Battery Cable
MODEL NO. – – – – – – – –
(label)

3
Important Information
Satisfactory performance cannot be guaranteed for each combination of host and subsidiary
equipment.
‘Prevention of access by user.’ This equipment is intended to be accessible only by authorized
personnel. It must be installed in a locked room or similar environment, so that user access is
prevented. Failure to prevent such user access will invalidate any approval given to this equipment.

4
Precautions
• Keep the unit away from heating and electrical noise generating devices such as fluorescent lamps,
motors and televisions.
• This unit should be kept free of dust, moisture, high temperature (more than 40 ˚C {104 ˚F}) and
vibration, and should not be exposed to direct sunlight.
• Never attempt to insert wires, pins, etc. into the vents or other holes of this unit.
• Do not use benzine, thinner, or the like, or any abrasive powder to clean the cabinet. Wipe it with
a soft cloth.
WARNING
THIS UNIT MAY ONLY BE INSTALLED AND SERVED BY QUALIFIED
SERVICE PERSONNEL.
WHEN A FAILURE OCCURS WHICH RESULTS IN THE INTERNAL PARTS
BECOMING ACCESSIBLE, DISCONNECT THE POWER SUPPLY CORD
IMMEDIATELY AND RETURN THIS UNIT TO YOUR DEALER.
DISCONNECT THE TELECOM CONNECTION BEFORE DISCONNECTING
THE POWER CONNECTION PRIOR TO RELOCATING THE EQUIPMENT.
THEN RECONNECT THE POWER FIRST.
THIS UNIT IS EQUIPPED WITH AN EARTHING CONTACT PLUG. FOR
SAFETY REASONS, THIS PLUG MUST ONLY BE CONNECTED TO AN
EARTHING CONTACT SOCKET WHICH HAS BEEN INSTALLED
ACCORDING TO REGULATIONS.
THE POWER SUPPLY CORD IS USED AS THE MAIN DISCONNECT DEVICE,
ENSURE THAT THE SOCKET-OUTLET IS LOCATED/INSTALLED NEAR THE
EQUIPMENT AND IS EASILY ACCESSIBLE.
TO PREVENT FIRE OR SHOCK HAZARD, DO NOT EXPOSE THIS PRODUCT
TO RAIN OR MOISTURE.
SERIAL NO. DATE OF PURCHASE
(found on the bottom of the unit)
NAME OF DEALER
DEALER’S ADDRESS
For your future reference

5
Introduction
Structure of the Manual
This manual consists of the following sections.
Section 1. Operations
Describes the features and their operations. It also provides information about the
programming required, conditions and connection references for each feature.
Section 2. Appendix
Provides the Tone/Ring Tone List, LED Indication, Feature Number List and the Telephone
Troubleshooting.
Index
Description of the Symbols Mainly Used in this Manual
!
!
Additional information and conditions.
☞
The feature or program references.

6
Contents
Section 1 Operations
Basic Operations
1.1 Before Operating ……………………………………………………………………….. 1-2
1.2 Proprietary Telephone Settings ………………………………………………….. 1-4
Customizing Your Telephone Functions ……………………………………… 1-5
Customizing the Buttons on Your Telephone ………………………………. 1-8
Display Contrast Adjustment
……………………………………………………….. 1-14
When Using the Headset …………………………………………………………… 1-14
Volume Control — Handset Receiver/Headset/Ringer/Speaker …….. 1-15
1.3 Making Calls ……………………………………………………………………………… 1-16
<Intercom Calling>
Intercom Calling ………………………………………………………………………. 1-16
Calling an Operator (Operator Call) ……………………………………………. 1-17
<Outside Calling>
Outside Calling ………………………………………………………………………… 1-17
Flash ………………………………………………………………………………………. 1-19
Handsfree Operation …………………………………………………………………. 1-20
Making Emergency Calls (Emergency Call) ……………………………….. 1-21
<Quick Dialing>
Dialing by Simply Pressing a Button (One-Touch Dialing) …………… 1-22
Dialing with System Speed Dialing (System Speed Dialing) …………. 1-23
Dialing with Personal Speed Dialing (Personal Speed Dialing) ……… 1-24
Dialing by Simply Going Off-Hook (Pickup Dialing) …………………… 1-26
<Redialing>
Redialing Automatically (Automatic Redial) ………………………………. 1-27
Redialing the Last Number Dialed (Last Number Redial) …………….. 1-27
Redialing the Saved Number (Saved Number Redial) ………………….. 1-28
<When the Dialed Line is Busy>
Sending a Call Waiting Tone to a Busy Extension
(Busy Station Signaling – BSS) ……………………………………………… 1-29
Making Your Telephone Ring Back Automatically When a Line
Becomes Free (Automatic Callback Busy – Camp-On) …………….. 1-30
Interrupting an Existing Call (Executive Busy Override) ………………. 1-31
Denying “Interrupting an Existing Call”
(Executive Busy Override Deny) ……………………………………………. 1-33
1.4 Receiving Calls …………………………………………………………………………… 1-34
Receiving Calls ………………………………………………………………………… 1-34
Handsfree Answerback ……………………………………………………………… 1-35
<Pick up a Call>
Picking up a Call Ringing at Another Extension (Call Pickup) ……… 1-36

7
Contents
Basic Operations Advanced Operations
Operator / Manager
/ DSS Console Operations
Appendix
1.5 During a Conversation ……………………………………………………………….. 1-38
<Placing a Call on Hold>
Placing a Call on Hold (Call Hold) …………………………………………….. 1-38
Placing a Call on Hold Exclusively (Exclusive Hold) …………………… 1-39
Retrieving a Call on Hold (Call Hold Retrieve) …………………………… 1-40
Placing a Call in System Parking Area (Call Park) ………………………. 1-41
<Transferring Calls>
Transferring a Call to an Extension (Call Transfer – to Extension) … 1-42
Transferring a Call to an Outside (CO) Line
(Call Transfer – to Outside (CO) Line)
…………………………………………….
1-44
Call Waiting ……………………………………………………………………………. 1-45
Call Splitting ……………………………………………………………………………. 1-47
Paging …………………………………………………………………………………….. 1-48
Turning off the Microphone (Microphone Mute) …………………………. 1-51
1.6 Before Leaving Your Desk …………………………………………………………. 1-52
Forwarding a Call (Call Forwarding) ………………………………………….. 1-52
Locking Your Telephone (Electronic Station Lockout) …………………. 1-57
Showing Your Message on the Calling Party’s Display
(Absent Message Capability) …………………………………………………. 1-58
Advanced Operations
1.7 Useful Features ………………………………………………………………………….. 1-59
Conference (3-party) ………………………………………………………………… 1-59
Conference, Unattended ……………………………………………………………. 1-61
Conference (5-party) ………………………………………………………………… 1-62
Leaving a Message Notification (Message Waiting) …………………….. 1-65
Calling with Account Codes (Account Code Entry) ……………………… 1-67
Rejecting Incoming Calls (Do Not Disturb — DND) ……………………. 1-69
Calling an Extension which Denies Receiving Calls
(Do Not Disturb Override) …………………………………………………….. 1-70
Secret Dialing ………………………………………………………………………….. 1-71
Alarm Setting (Timed Reminder) ………………………………………………. 1-72
Time (Day/Night/Lunch) Service ……………………………………………….. 1-74
Joining or Leaving a Call Distribution Group (Log-In/Log-Out) ……. 1-75
Room Monitor …………………………………………………………………………. 1-76
Data Line Security ……………………………………………………………………. 1-77
Parallel Connection of a Proprietary Telephone and
Single Line Telephone (Paralleled Telephone Connection) ……….. 1-78
Mixed Station Dialing ………………………………………………………………. 1-78
External Feature Access ……………………………………………………………. 1-79
Self-Extension Number Confirmation
(KX-T7330/KX-T7030/KX-T7130/KX-T7033 only) ………………… 1-80
Turning on the Background Music (BGM) ………………………………….. 1-80

8
Contents
Extension Button Confirmation
(KX-T7330/KX-T7030/KX-T7130/KX-T7033 only) ………………… 1-81
Pulse to Tone Conversion …………………………………………………………. 1-81
Canceling the Feature Settings (Station Feature Clear) …………………. 1-82
Alternate Calling — Ring/Voice ………………………………………………… 1-82
Doorphone Call ……………………………………………………………………….. 1-83
Door Opener ……………………………………………………………………………. 1-84
Voice Mail Integration for KX-TVP75/KX-TVP100 ……………………. 1-85
Calling Using Your Privileges at Another Extension (Walking COS) … 1-87
Ringing Pattern Selection ………………………………………………………….. 1-88
Distinctive Dial Tones ………………………………………………………………. 1-88
Power Failure Transfer ……………………………………………………………… 1-89
Lockout …………………………………………………………………………………… 1-89
Operator / Manager Operations
1.8 Operator / Manager Service Features …………………………………………. 1-90
Date and Time Setting ………………………………………………………………. 1-90
Electronic Station Lockout – CANCEL ALL ………………………………. 1-91
Timed Reminder, Remote (Wake-Up Call) …………………………………. 1-91
Outgoing Message (OGM) ………………………………………………………… 1-93
Remote Station Lock ………………………………………………………………… 1-94
Time (Day/Night/Lunch) Service Setting ……………………………………. 1-95
Extension Password Set (Manager only) …………………………………….. 1-97
DSS Console Operations
1.9 DSS Console Features ………………………………………………………………… 1-98
Initial Settings ………………………………………………………………………….. 1-98
Direct Station Dialing ……………………………………………………………….. 1-101
One-Touch Dialing …………………………………………………………………… 1-101
One-Touch Access for System Features ……………………………………… 1-102
Call Transfer ……………………………………………………………………………. 1-102
Section 2 Appendix
2.1 Tone / Ring Tone List ………………………………………………………………… 2-2
2.2 LED Indication ………………………………………………………………………….. 2-3
2.3 Feature Number List ………………………………………………………………….. 2-4
2.4 Display Example ………………………………………………………………………… 2-7
2.5 Troubleshooting …………………………………………………………………………. 2-11
Index

Basic Operations Advanced Operations
Operator / Manager
/ DSS Console Operations
Section 1
Operations
• For proprietary telephone operations, all button illustrations are based on the KX-T7130
model.
• The AUTO ANSWER/MUTE button corresponds to the AUTO ANS/MUTE button on a
KX-T7300 series.
• The AUTO DIAL/STORE button corresponds to the AUTO/STORE button on a KX-T7300
series.
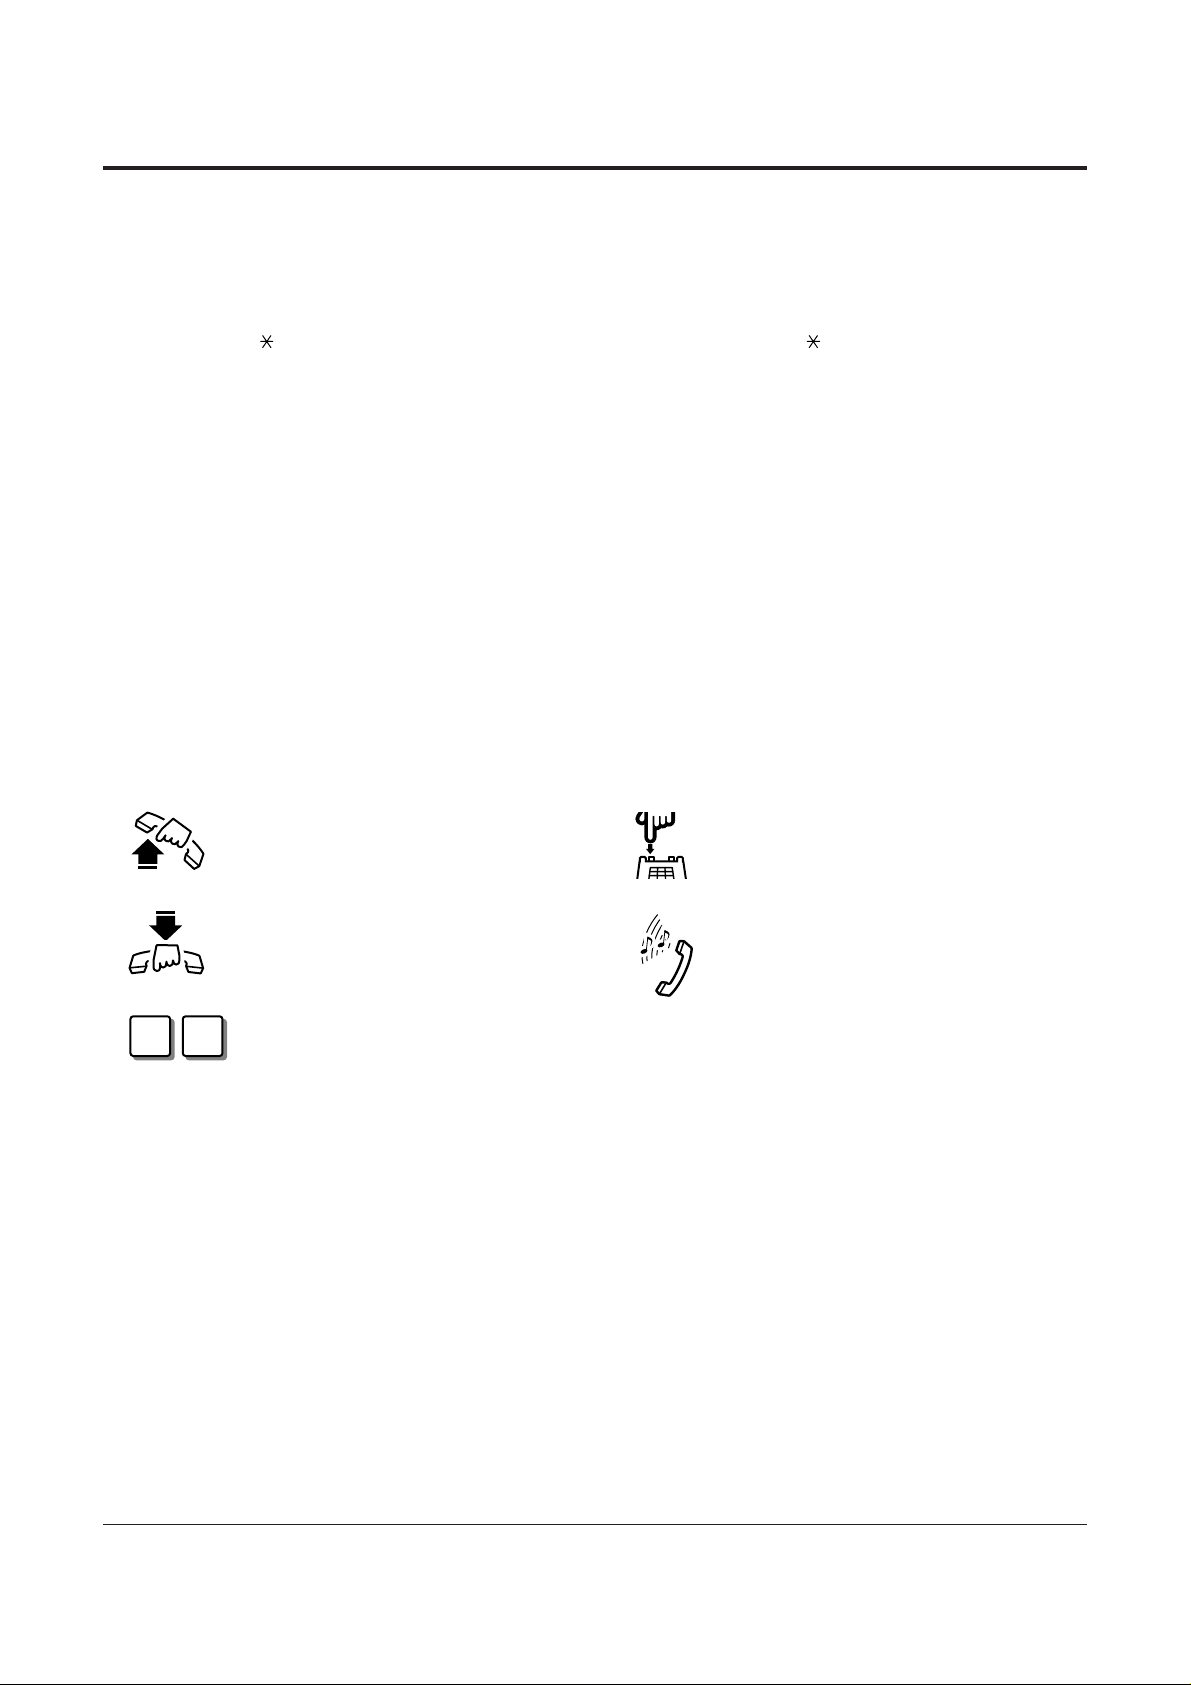
Lift the handset, or press the
SP-PHONE or MONITOR button
(Off-hook).
Replace the handset, or press the
SP-PHONE or MONITOR button
(On-hook).
Number keys on the telephone —
depends on the condition.
Flash the hookswitch on a single line
telephone.
Tones which vary depending on the
condition.
Refer to “Tone / Ring Tone List”
(Section 2.1).
1-2 Operations
1.1 Before Operating
What kind of telephone do you use?
In this manual, you will find how to operate the feature depending on the telephone you use.
If you use single line devices such as a single line telephone or data terminal, you will follow
the steps which enter a feature number. If you use single line devices which do not have a
“ ” or “#” key, it is not possible to access features that have “ ” or “#” in their feature
numbers.
If you use a Panasonic proprietary telephone which has a special function button and/or a
display, you will follow the button or display operation for easy access. If you use a Panasonic
proprietary telephone which does not have a function button, you may change one of the
unused buttons to another button. Refer to Section 1.2, “Proprietary Telephone Settings”.
A Panasonic proprietary telephone has Light Emitting Diode (LED) button indicators, so you
can see the line conditions according to the lighting patterns. Refer to Section 2.2, “LED
Indication”.
Please use the proper operation for your telephone.
Description of the Symbols Used in this Manual
In this manual, many symbols are used. Some of the symbols need explanation. Those are
described below.
Operations 1-3
1.1 Before Operating
Basic Operations
Operating example
Example: “Interrupting an Existing Call (Executive Busy Override)”, Executive Busy Override —
Extension
Sub-feature title
Operation steps
Feature description
Main feature title
The feature and program reference
Applicable telephone:
A PT (Proprietary Telephone) user can follow the operating steps below.
Applicable telephone:
Any Telephone (PT and SLT) user can follow the operating steps below.
• If your telephone is not noted in the operation steps (ex. only “PT” is noted and you are
using a single line telephone), this means your telephone cannot execute that feature.
• If your telephone can perform several operations for one feature, you can select the method
according to your needs.
To terminate one party and talk to the other
PT
Confirmation tone (optional)
Press the CO or INTERCOM
of the party to remain connected.
CO
or
INTERCOM
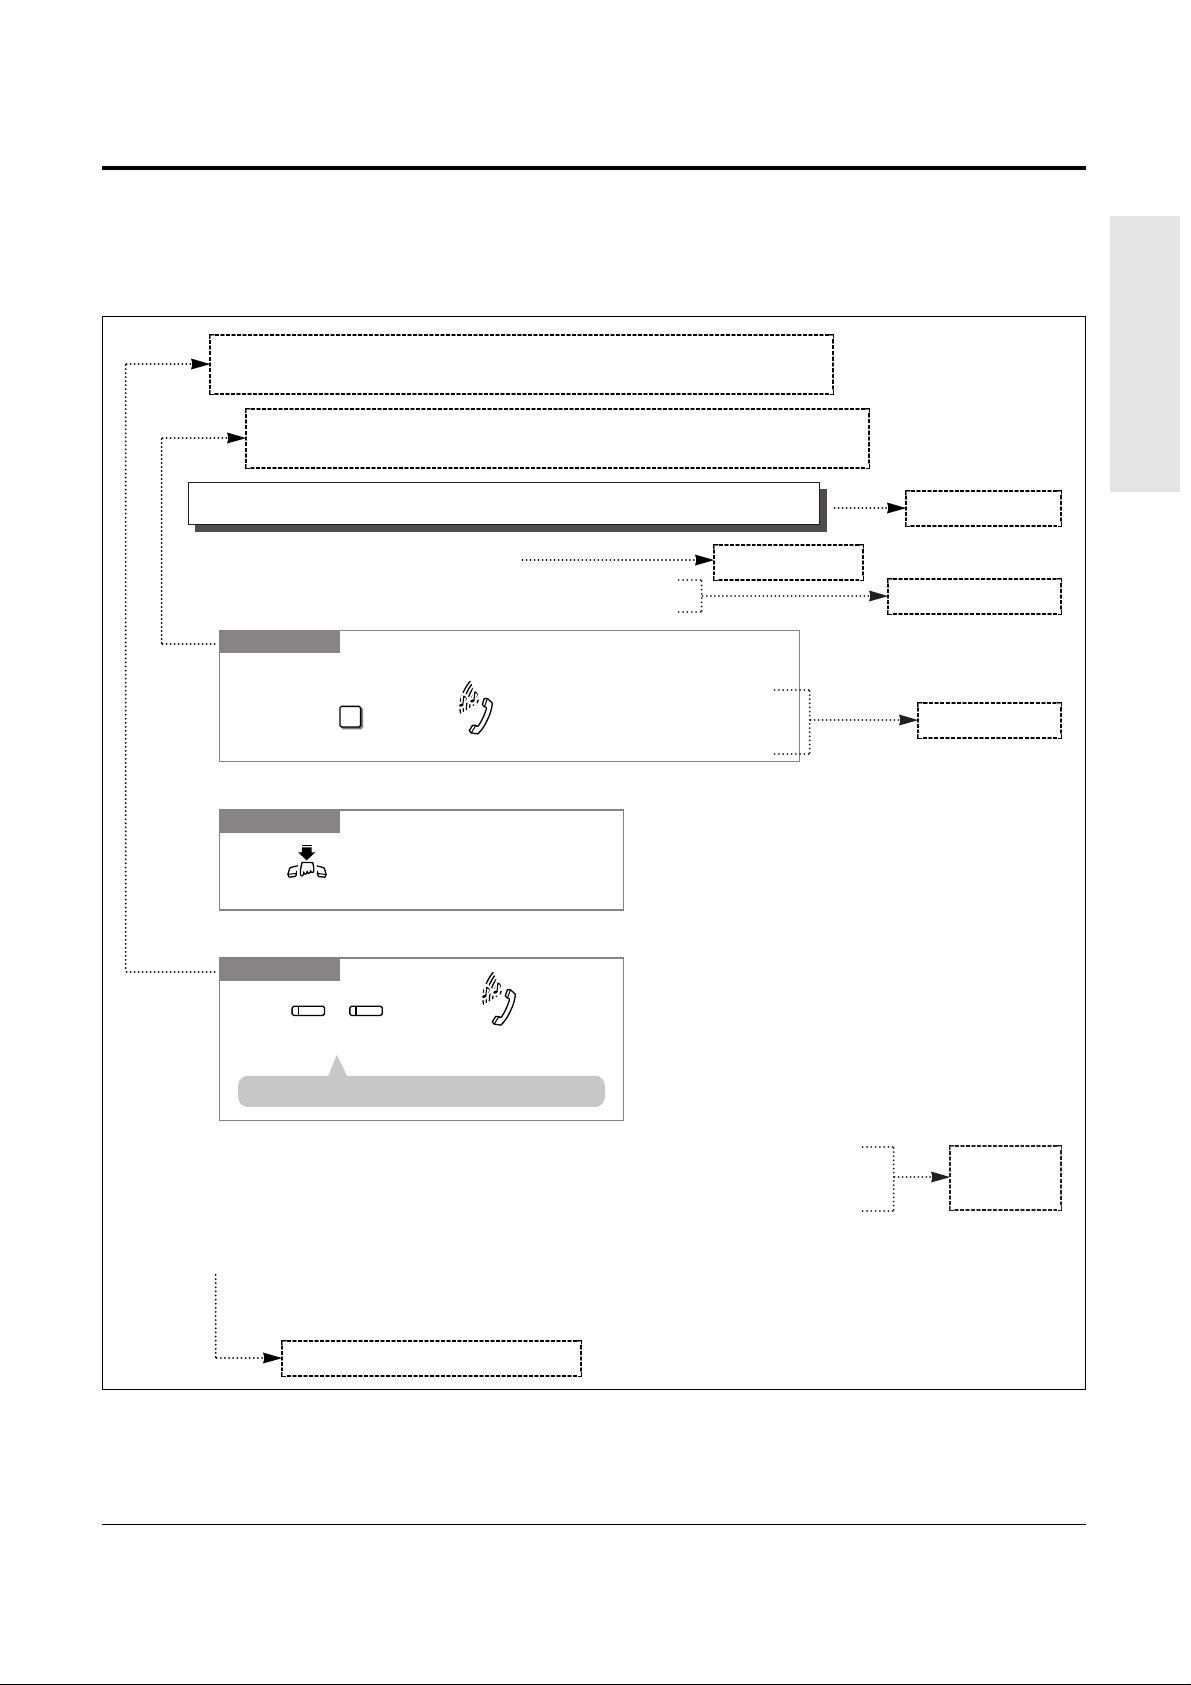
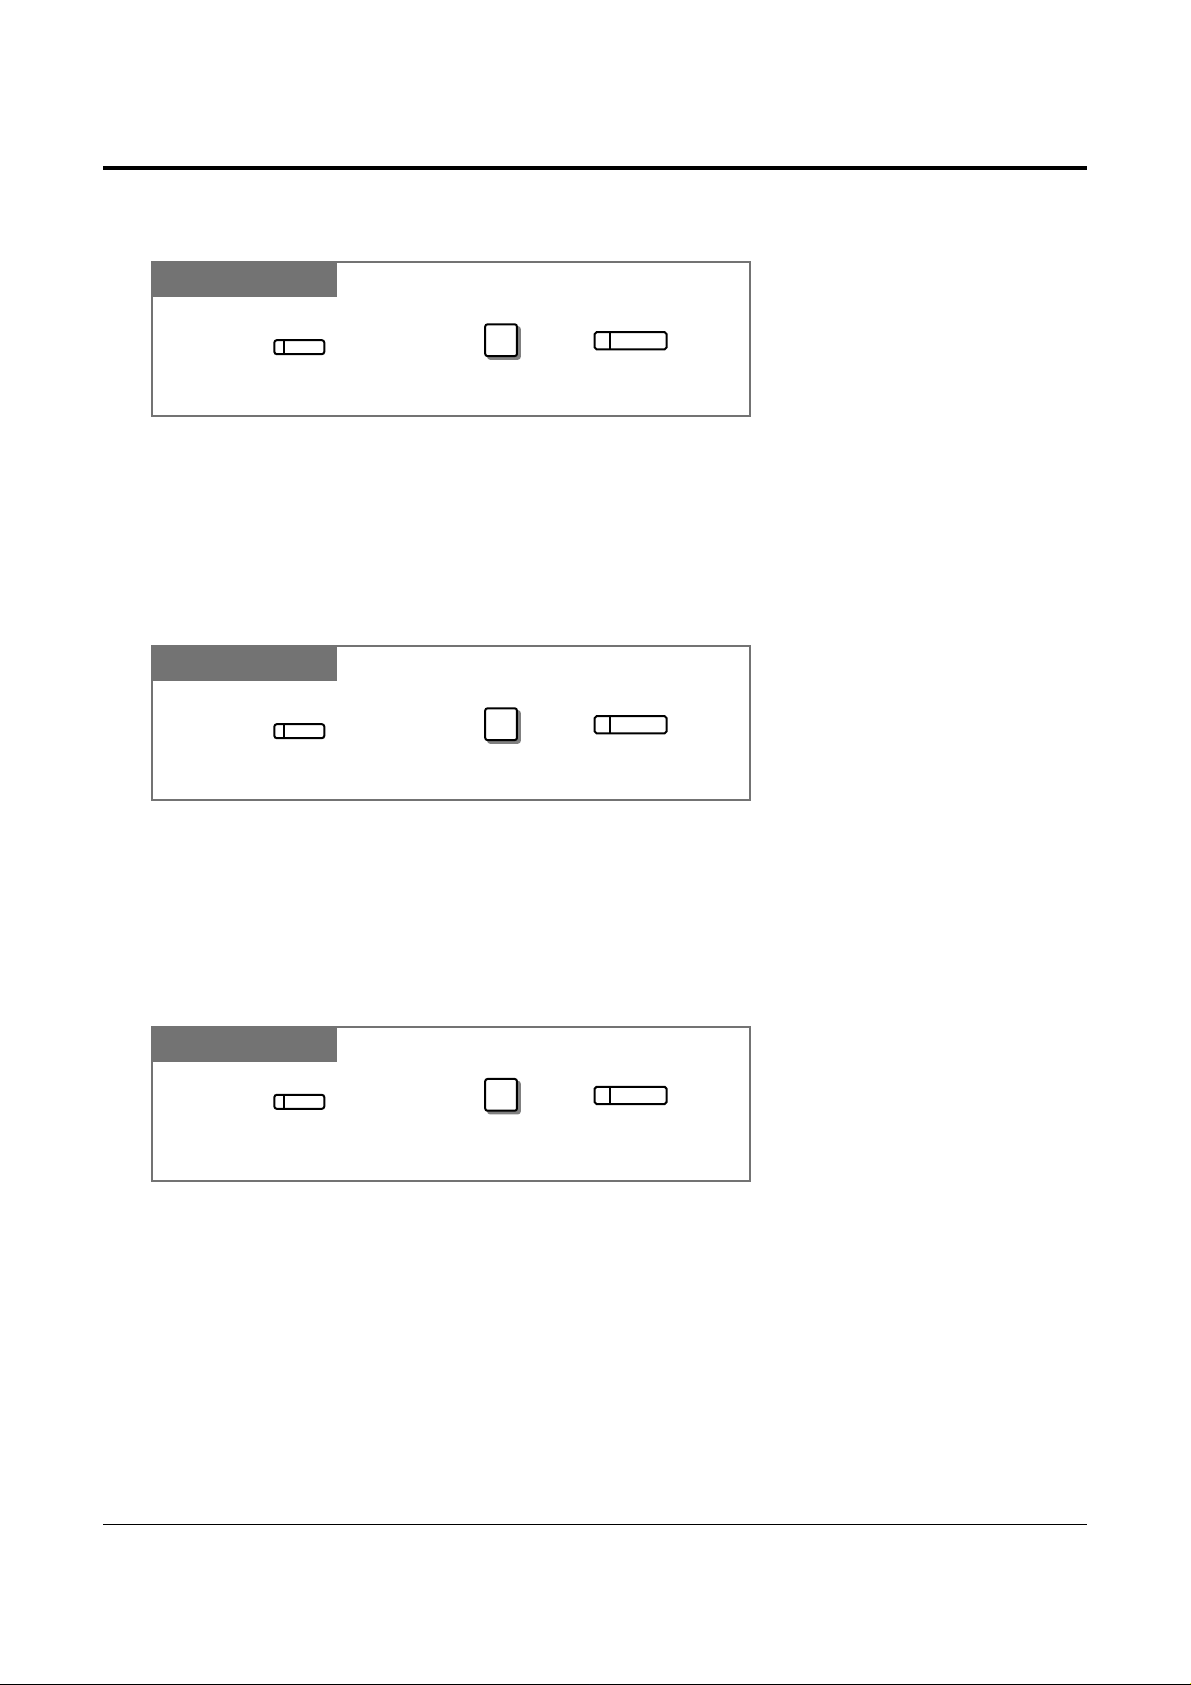
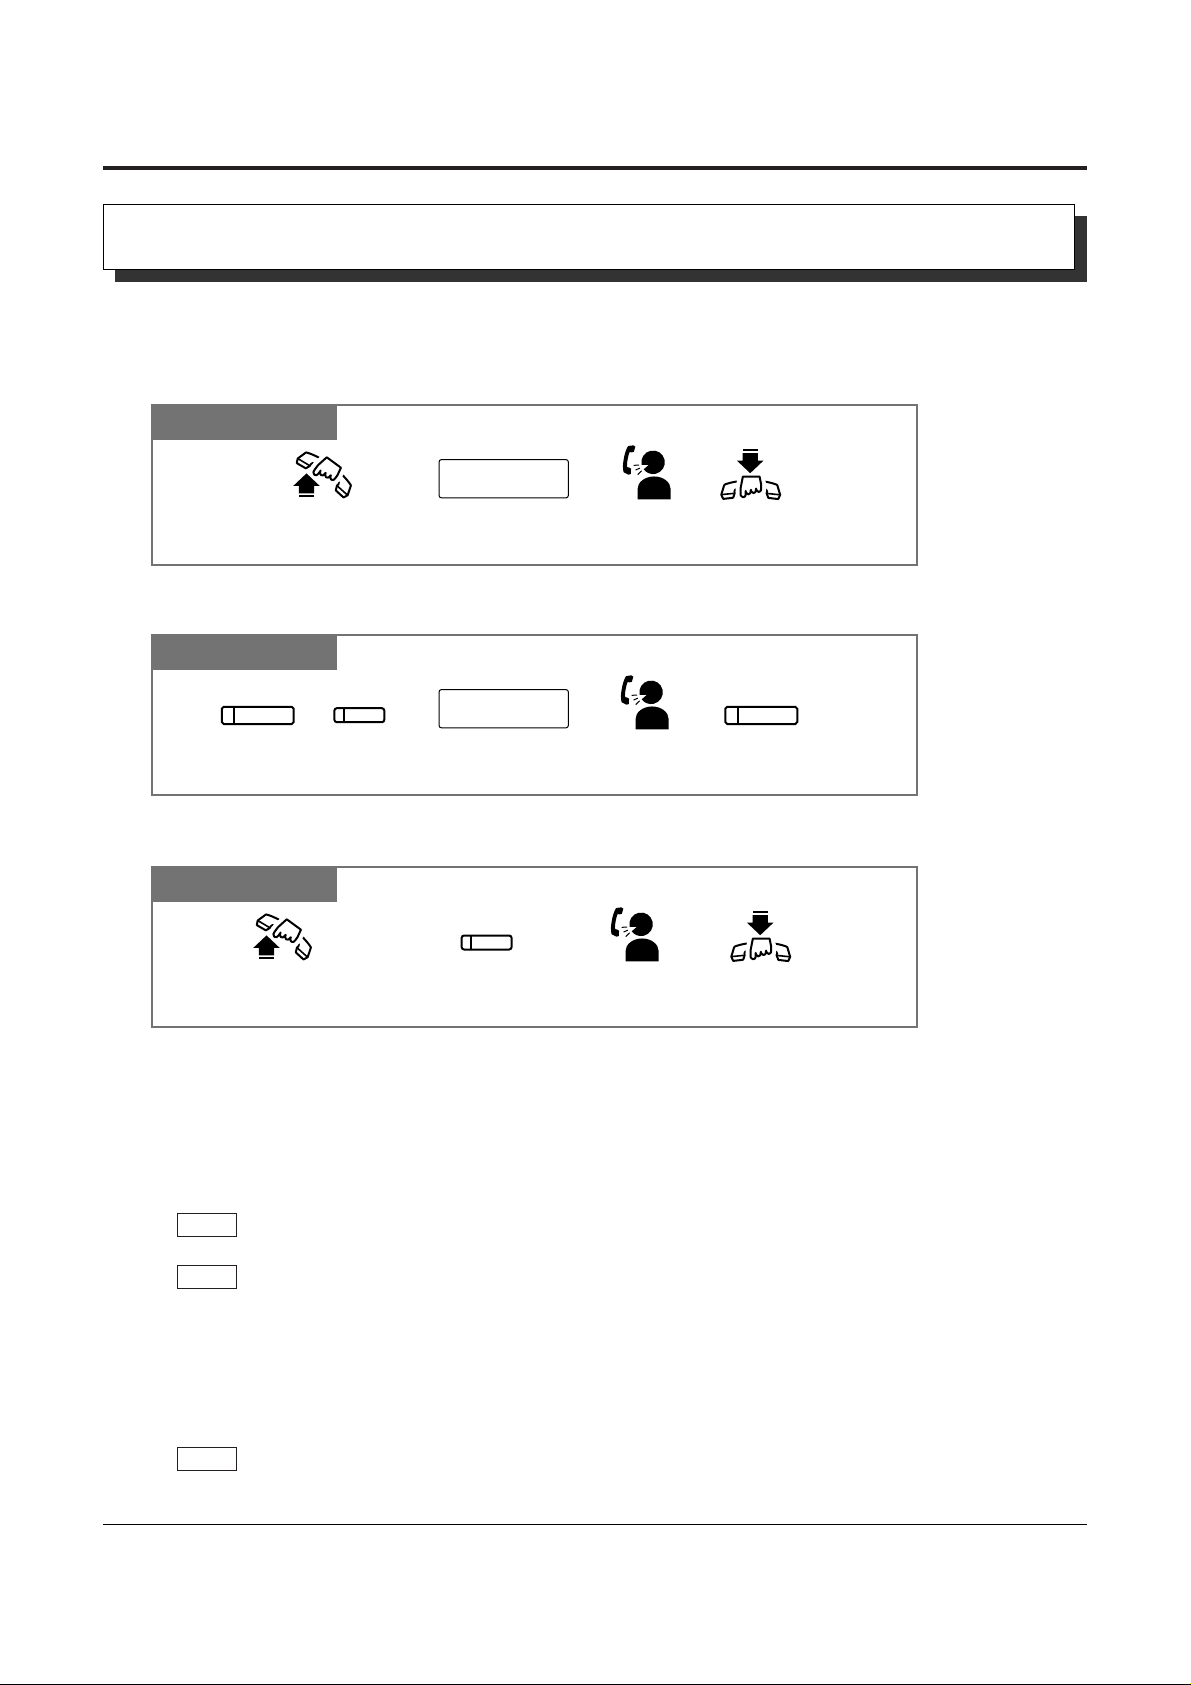
Interrupting an Existing Call (Executive Busy Override)
Executive Busy Override — Extension
Allows you to connect to an existing intercom (extension) call.
System Programming is required to use this feature.
Any Telephone
Dial 3.
3
Confirmation tone (optional)
If you make an intercom call and while hearing a busy tone
A three-party conference
is now established.
To leave the conference
Any Telephone
The other two parties
continue their conversation.
Hang up or press
SP-PHONE
.
• This feature does not work when “Data Line Security” or “Executive Busy Override Deny”
is set at either or both of the other parties.
• When a 2-party call is changed to a 3-party call or vice versa, a confirmation tone is sent to
all parties. The tone can be disabled.
• 1.3 Making Calls, ‘Denying “Interrupting an Existing Call”(Executive Busy Override
Deny)’
• 1.7 Useful Features, “Conference (3-party)”
• 1.7 Useful Features, “Data Line Security”
• See the Installation Manual, Section 3, “Executive Busy Override”.
!
!
☞
• If all three parties are extensions, this operation is not available.
!
!
Additional
information
1-4 Operations
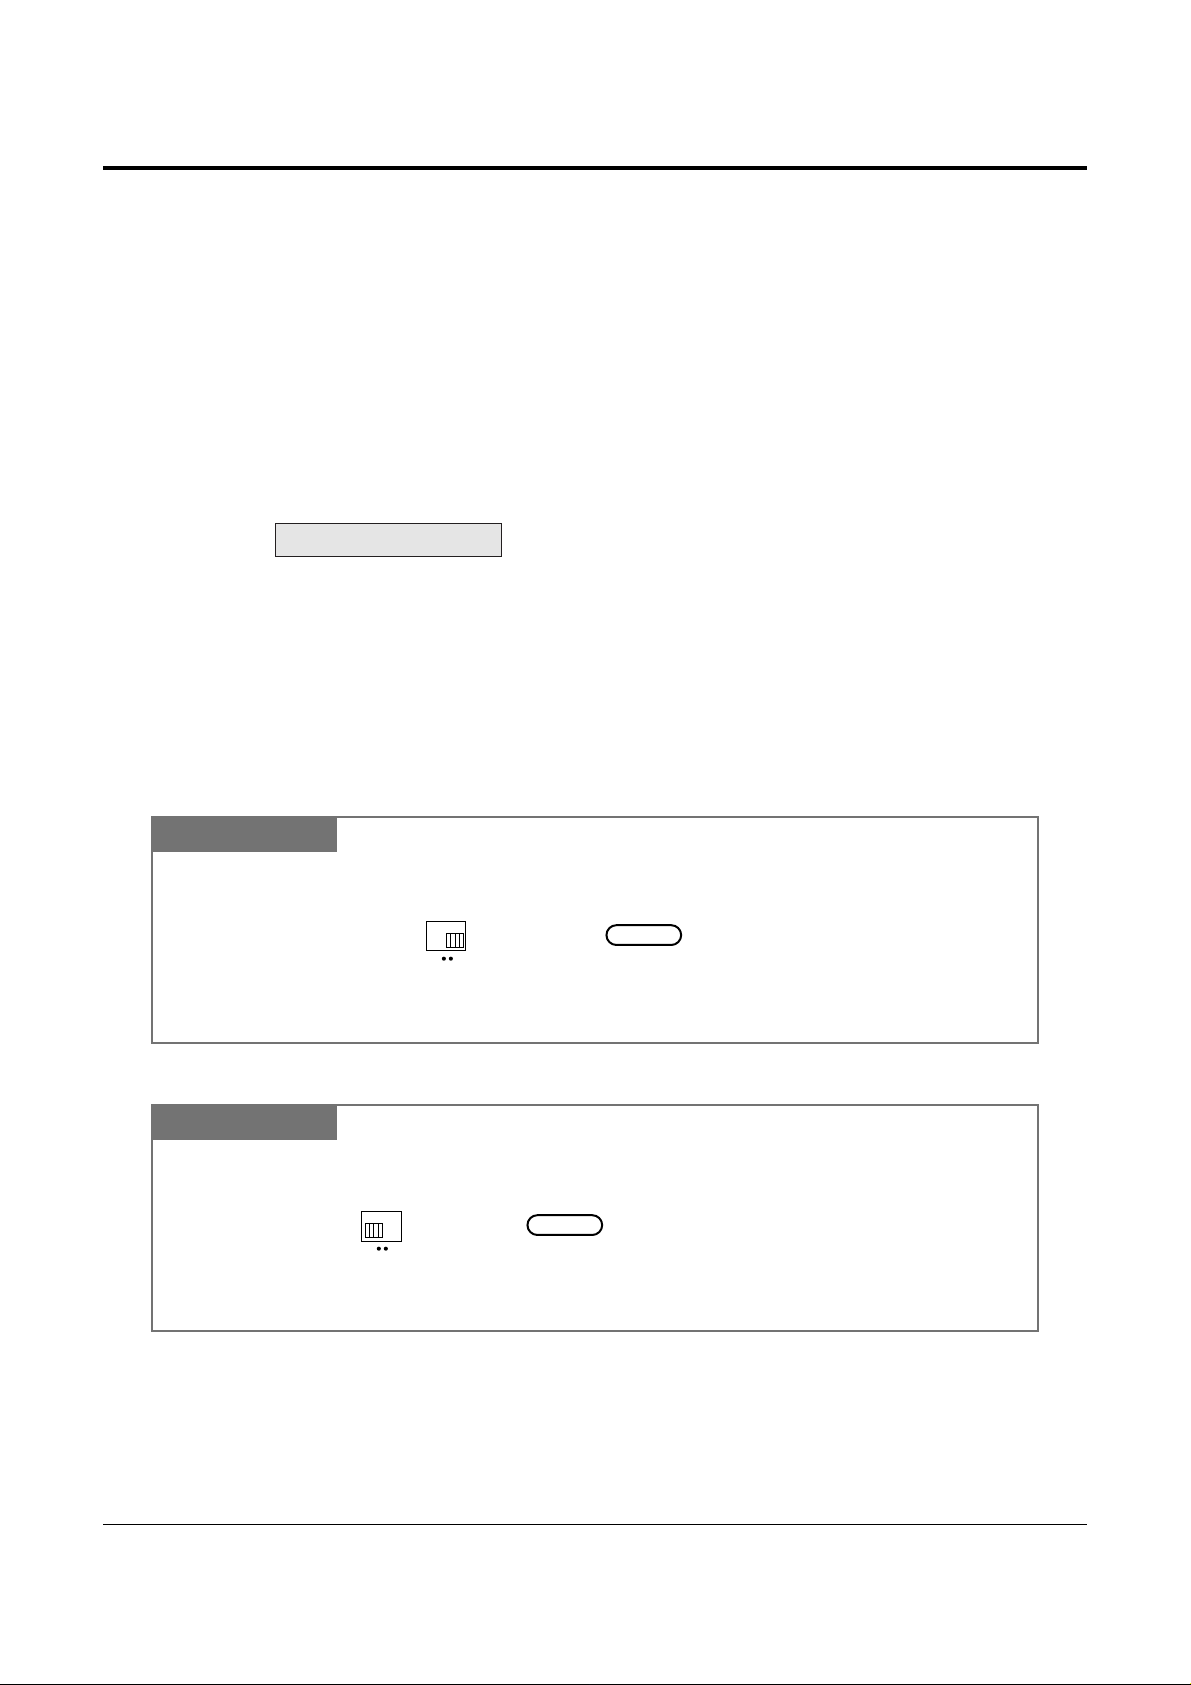
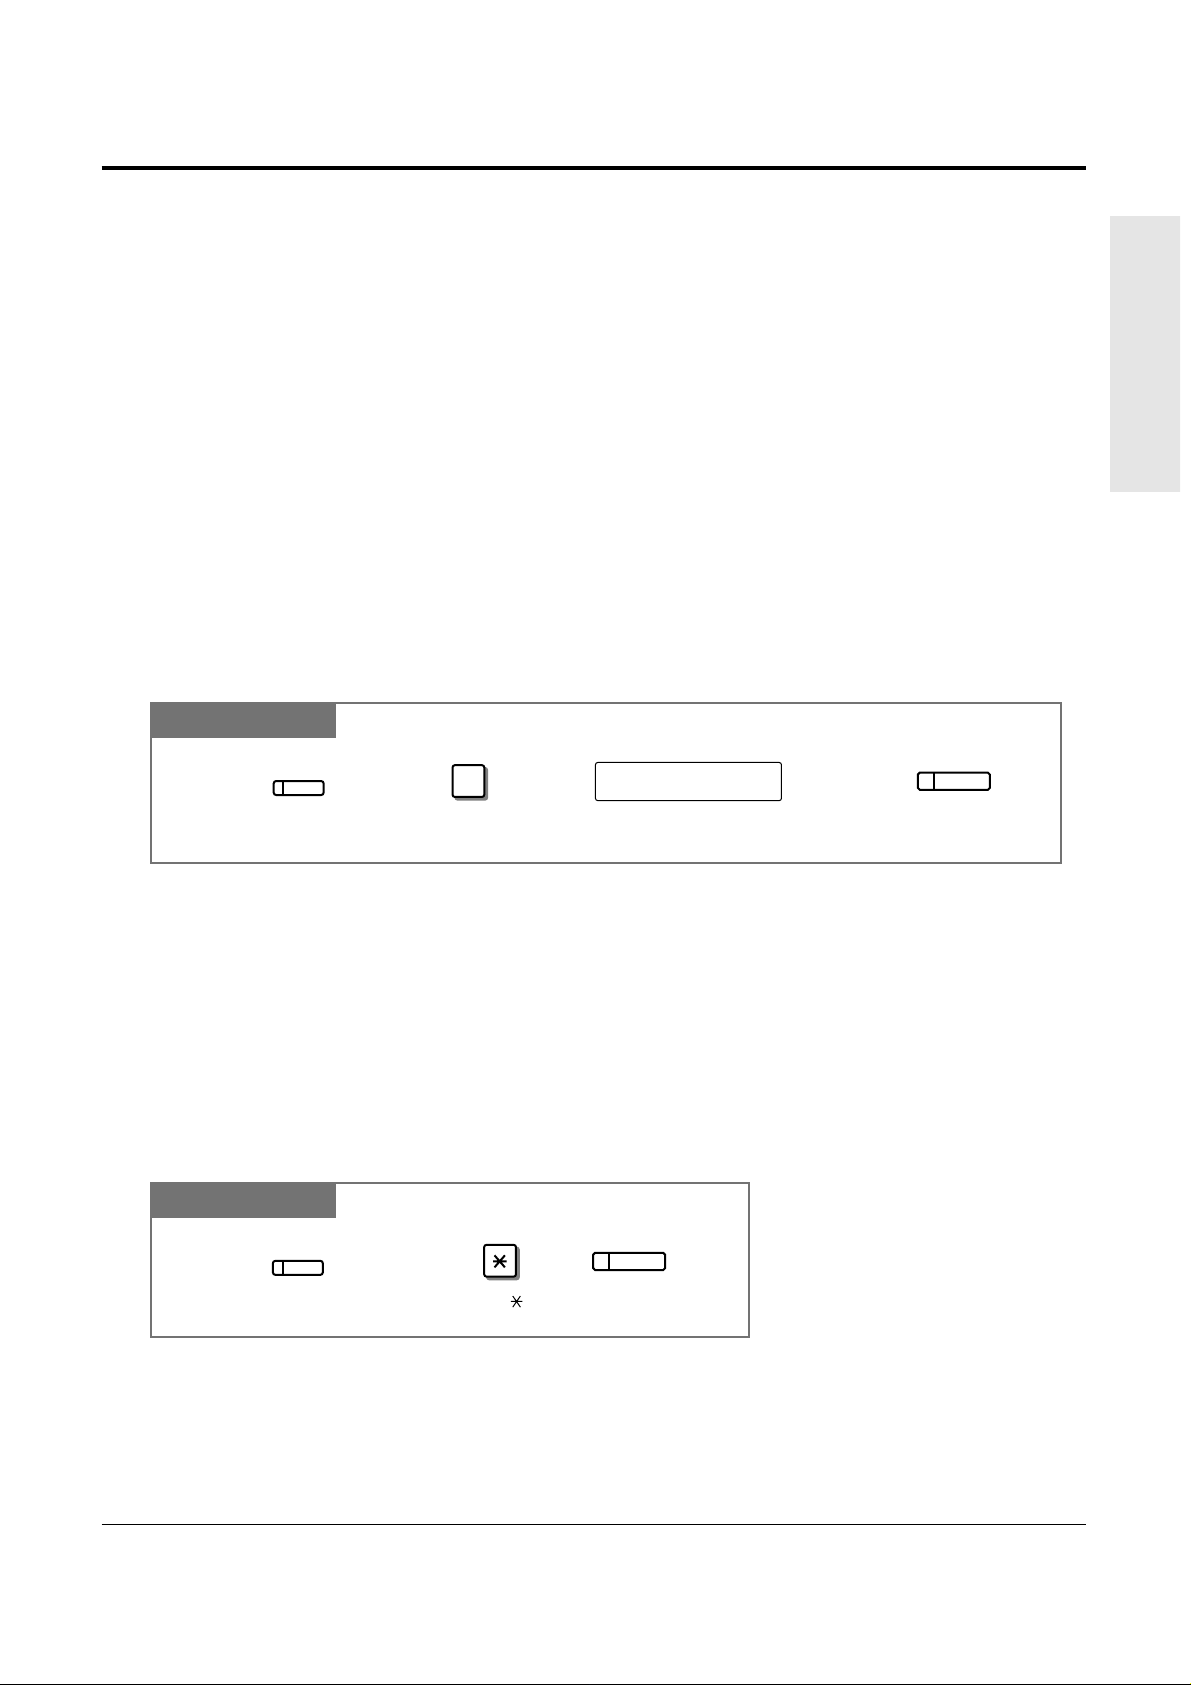
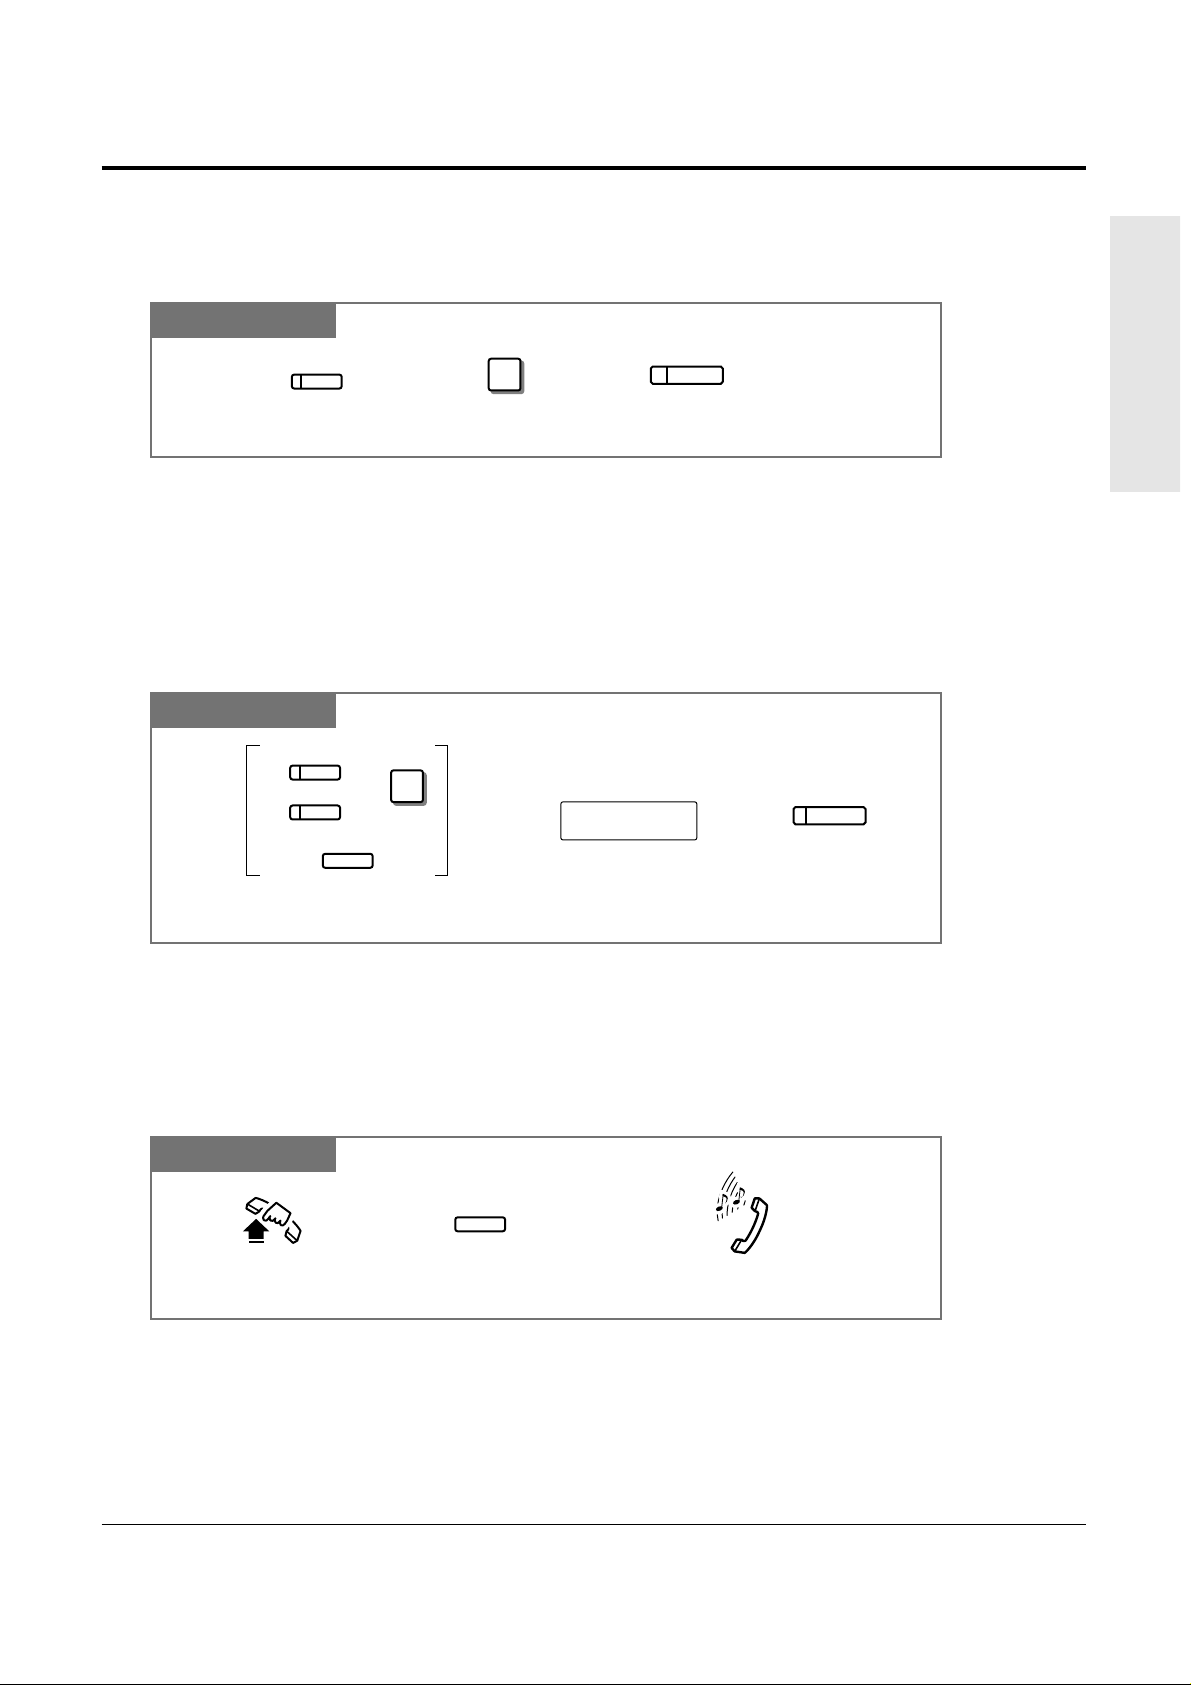
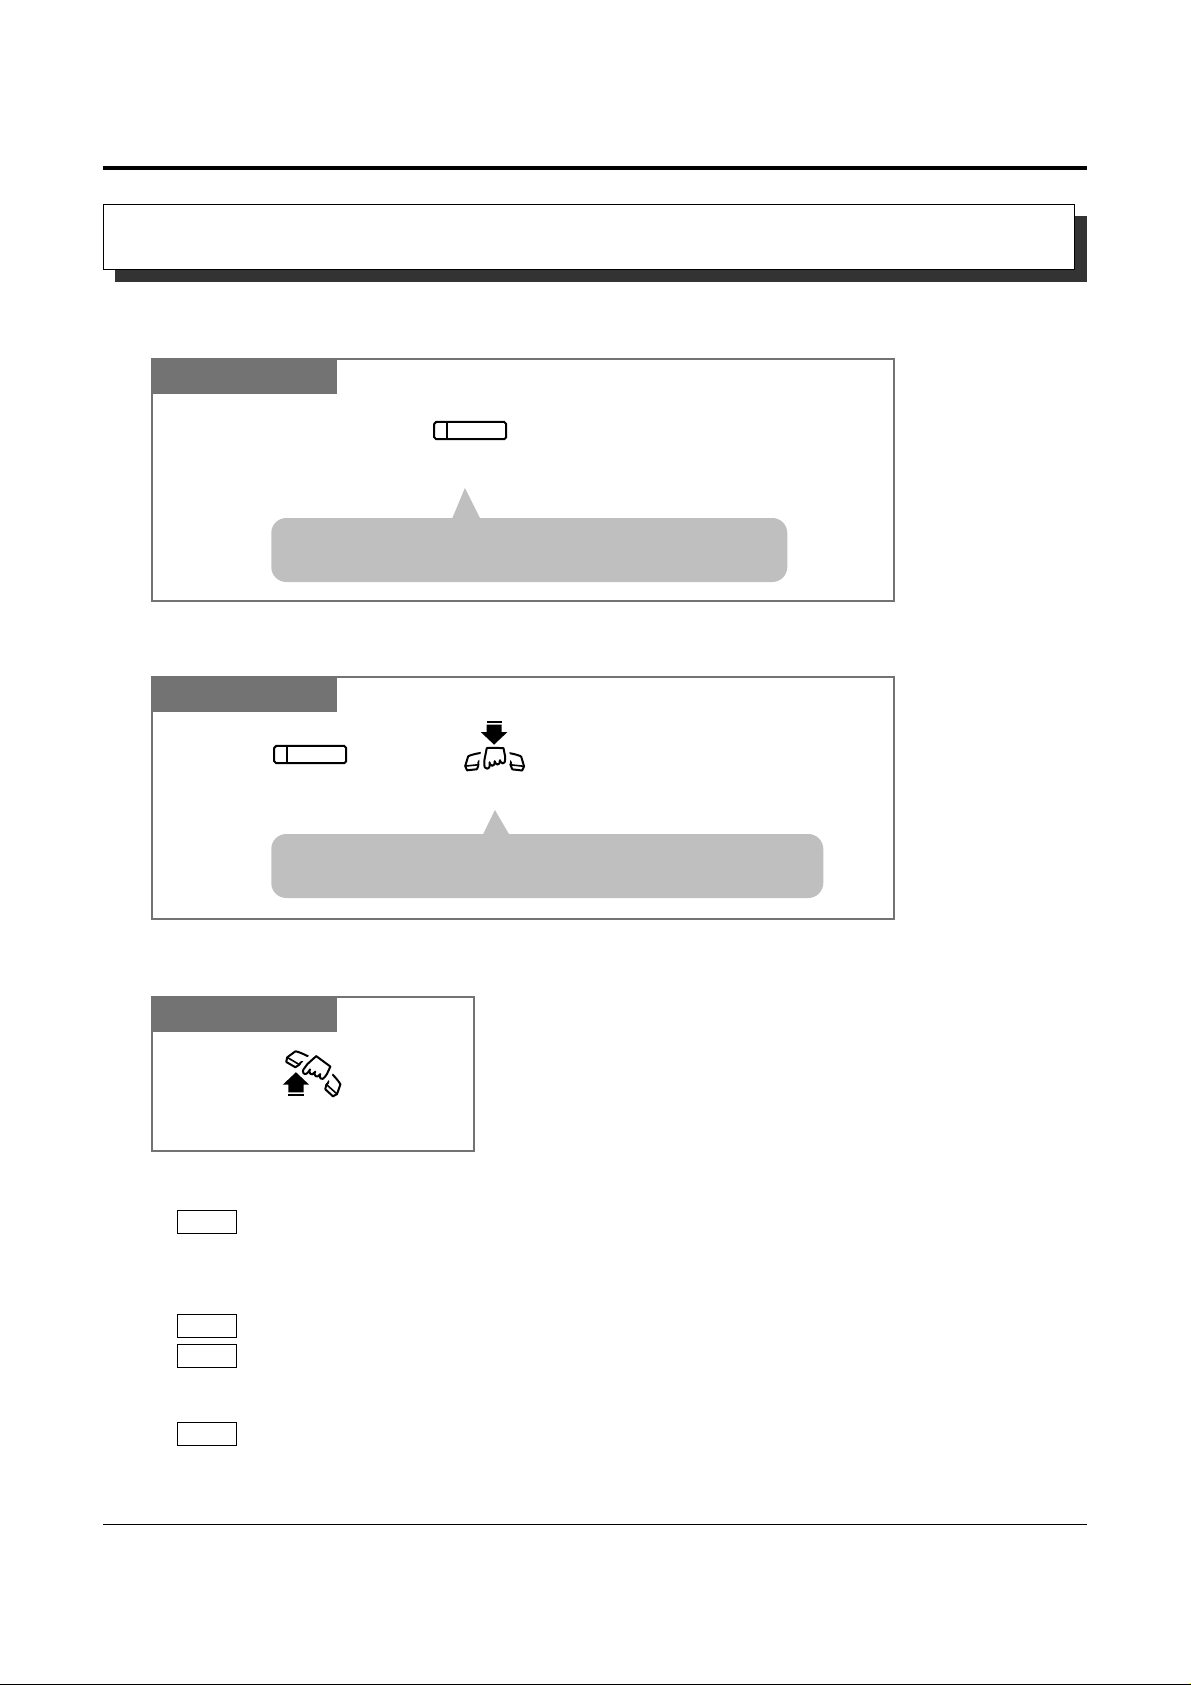
1.2 Proprietary Telephone Settings
If you use a Panasonic proprietary telephone, you can customize your telephone functions. For
example, you can change the initial settings according to your needs or the button functions on
your telephone. To program, you need to switch your telephone to the programming mode.
During the programming mode, your telephone is busy to outside callers. If you want to make
a normal call operation, you must finish the programming mode.
• This feature cannot be used with a single line telephone.
• Be sure the handset is on the cradle and the SP-PHONE button is off.
• To program, set the MEMORY switch on the proprietary telephone to “PROGRAM” or
press the PROGRAM button on the KX-T7300 series.
When you enter the Station Programming mode, the display shows the following message as
the initial programming mode.
The display also gives you helpful or stored data information related to the programming
steps. You can also refer to the “Display Example” in the Appendix (Section 2.4).
• After programming, return the MEMORY switch to the “SET” position or press the
PROGRAM button on the KX-T7300 series.
• If you move your desk and change the extension line, reset as desired. The setting will not
remain in your telephone but will remain in the previous extension user’s memory.
• During the programming mode, your extension is treated as a busy extension.
PITS-PGM NO? →
!
!
To exit the Programming Mode
When storing data
After pressing the STORE button to store data, you may hear one of the following tones.
— Confirmation tone (1 beep): storage is completed.
— Confirmation tone (2 beeps): the data is the same as the last entry.
— Alarm tone (3 beeps): the entry is not valid.
PT
SET PROGRAM
MEMORY
Set the MEMORY switch to “PROGRAM” on the KX-T7000 series.
OR
Press the PROGRAM button on the KX-T7300 series.
Be sure the telephone is idle and on-hook.
or
PROGRAM
SET PROGRAM
MEMORY
When the display shows the initial programming mode;
Programming is completed
and the normal call operation
resumes.
Set the MEMORY switch to “SET” on the KX-T7000 series.
OR
Press the PROGRAM button on the KX-T7300 series.
or
PROGRAM
To enter the Programming Mode
Operations 1-5
1.2 Proprietary Telephone Settings
Basic Operations
You can change the initial settings of your telephone. Check the available items in the list and
change the settings, if required.
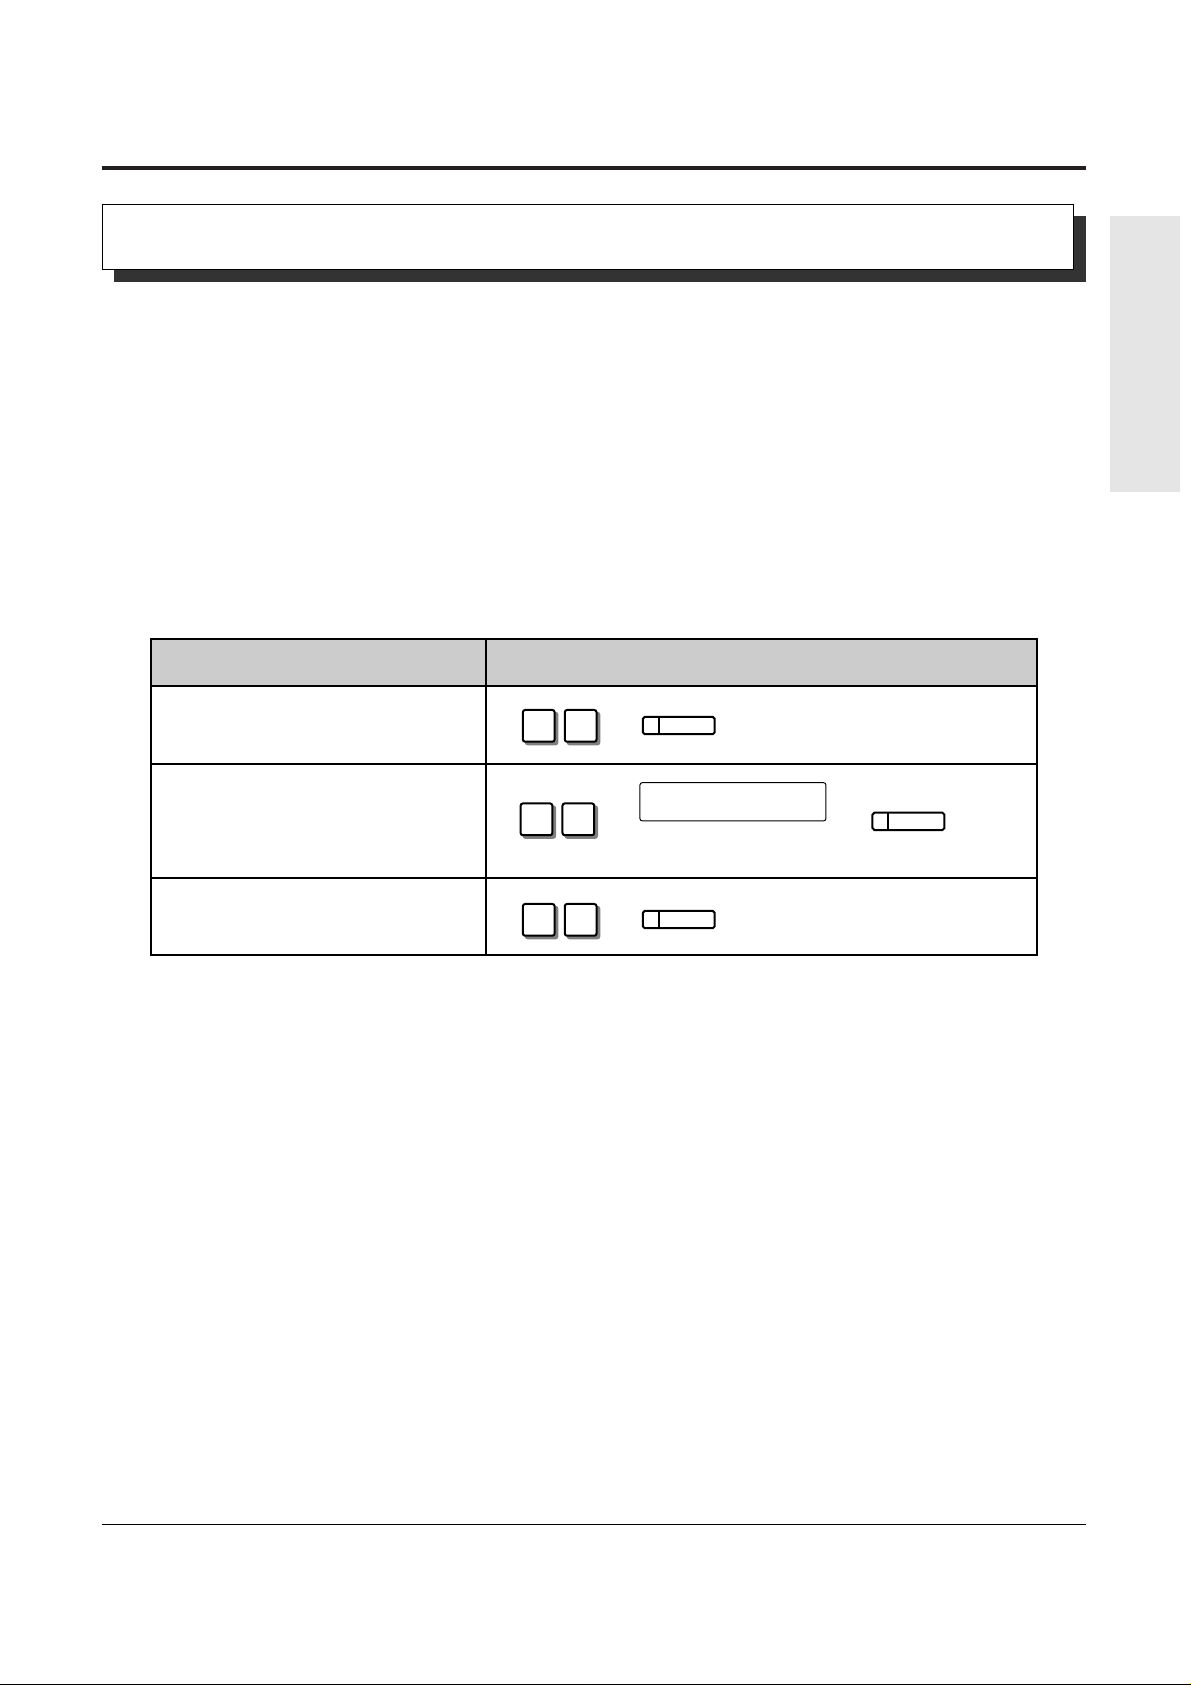
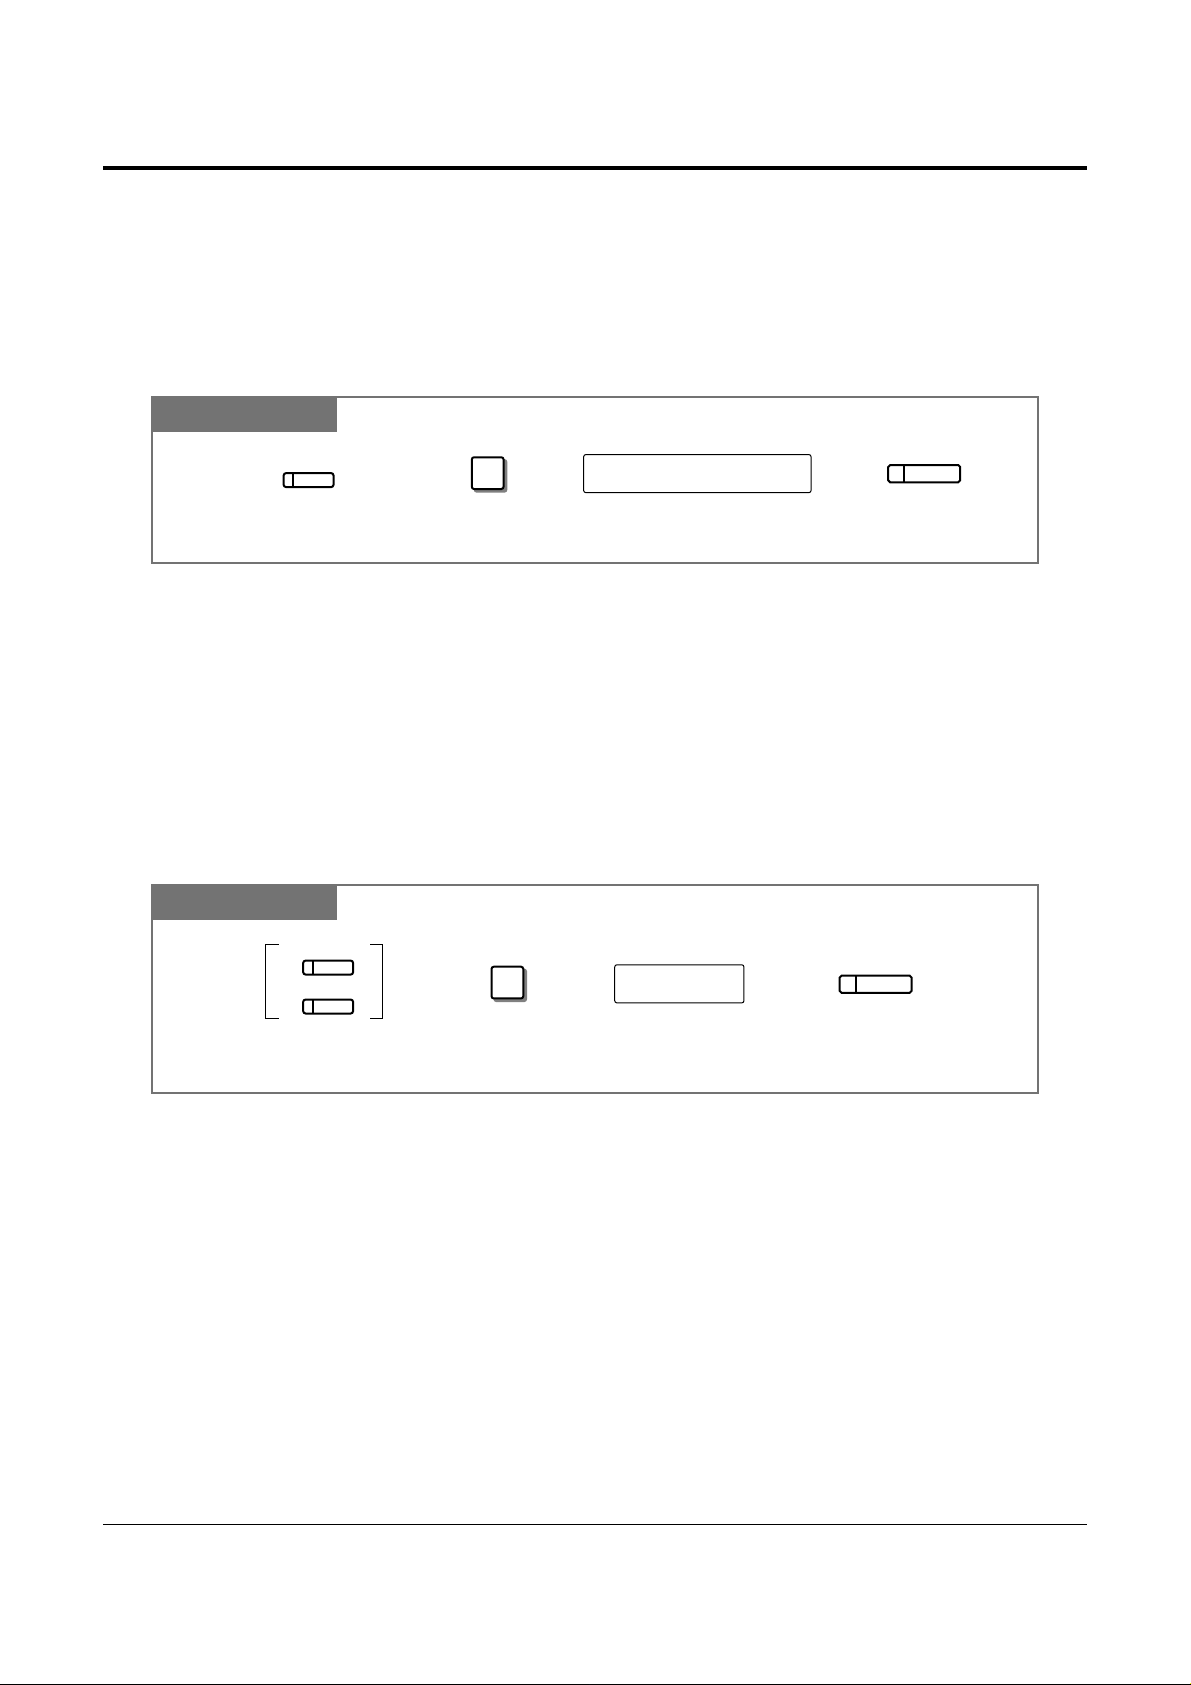
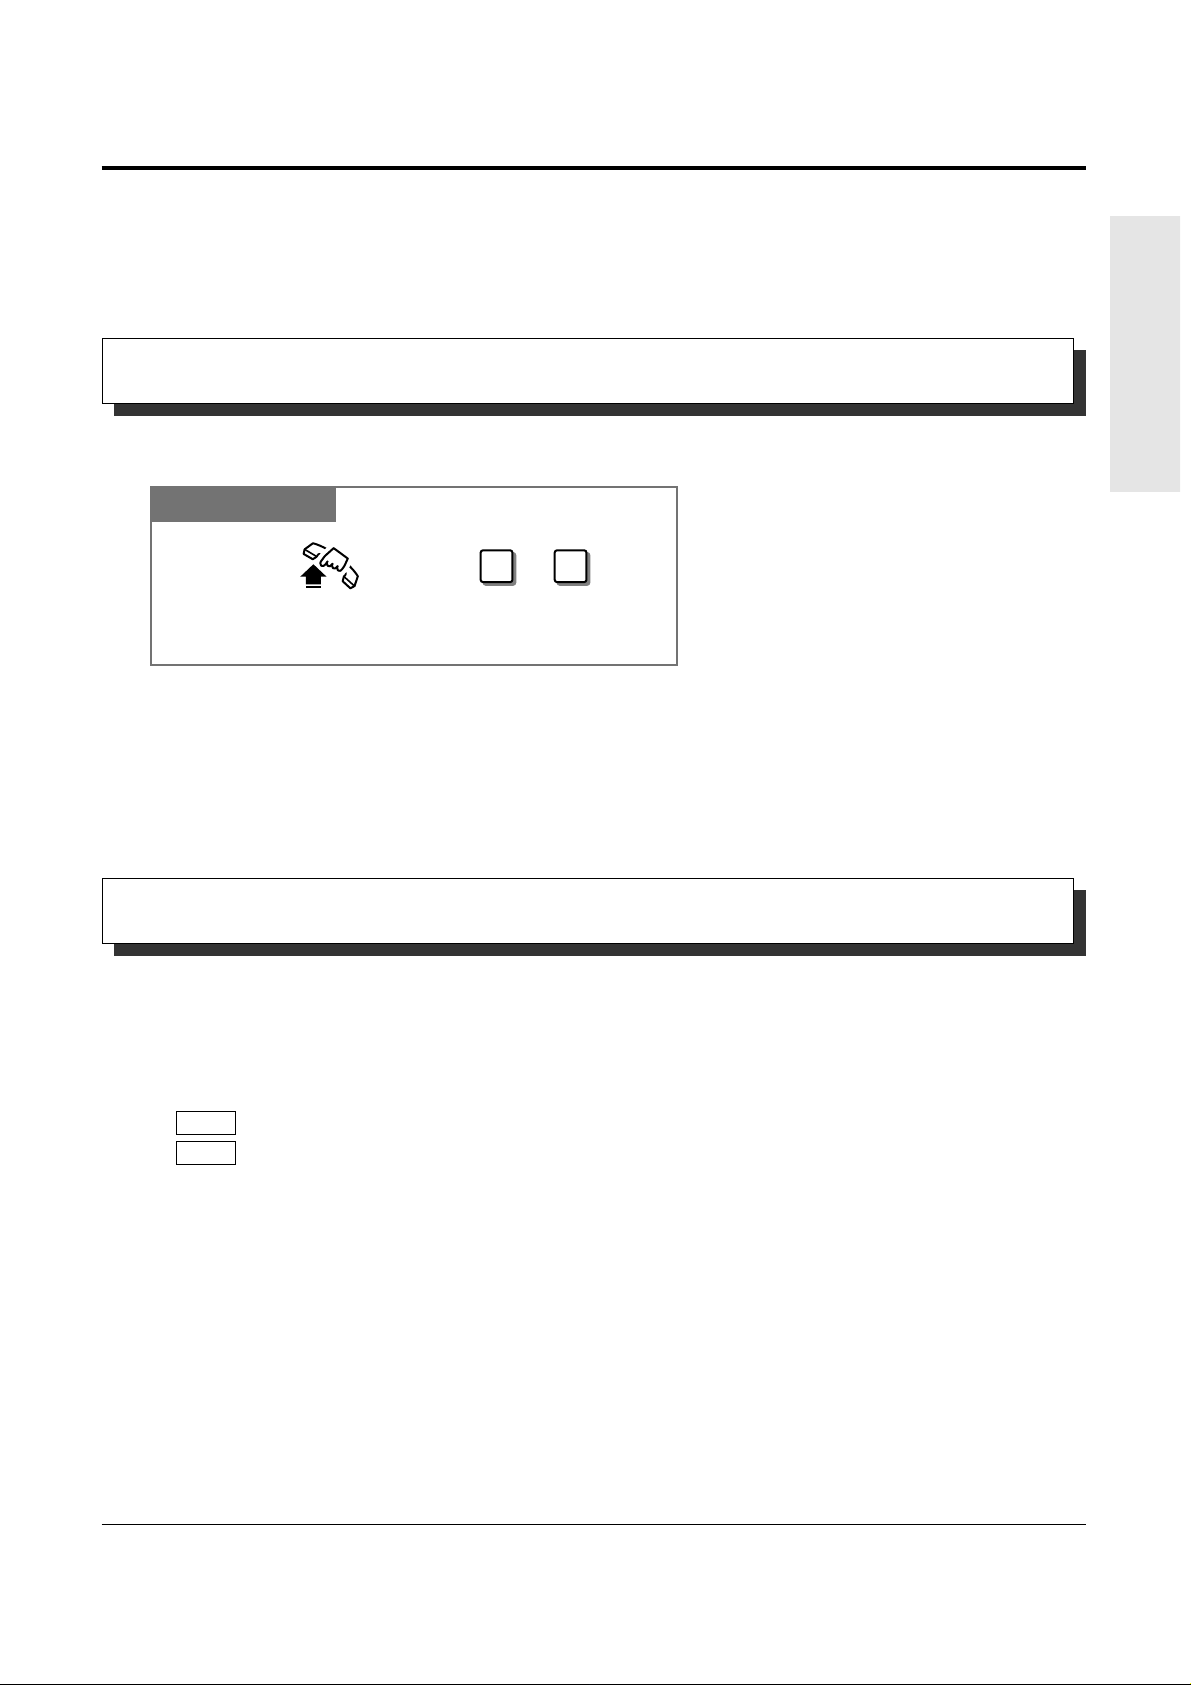
Preferred Line Assignment — Outgoing
Idle Line Preference: You can access any enabled idle outside (CO) line to make a call
directly by going off-hook.
Prime Line Preference: You can access a programmed outside (CO) line directly by going
off-hook.
No Line Preference: You cannot access an outside (CO) line by going off-hook. Choose
(default) the outside (CO) line.
• Setting a new line preference feature will cancel the previous setting.
• The user can override the Idle/Prime Line Preference temporarily to select a specific line. To
select it, press the desired line access button (INTERCOM or CO button) before going
off-hook or pressing the SP-PHONE/MONITOR button.
• If there are only 3 lines in the system, outside (CO) line numbers 4 through 6 cannot be
used.
SELECTION PROGRAMMING INPUT
❑ No Line Preference.
❑ Idle Line Preference.
❑ Prime Line Preference.
Customizing Your Telephone Functions
1 3
1 1
outside (CO) line no.
Enter the outside (CO) line
number (1 through 6).
AUTO DIAL
STORE
AUTO DIAL
STORE
1-6 Operations
1.2 Proprietary Telephone Settings
PROGRAMMING INPUT
3
Enter the outside (CO) line
numbers you want to ring
(1 through 6).
outside (CO) line no.
AUTO DIAL
STORE
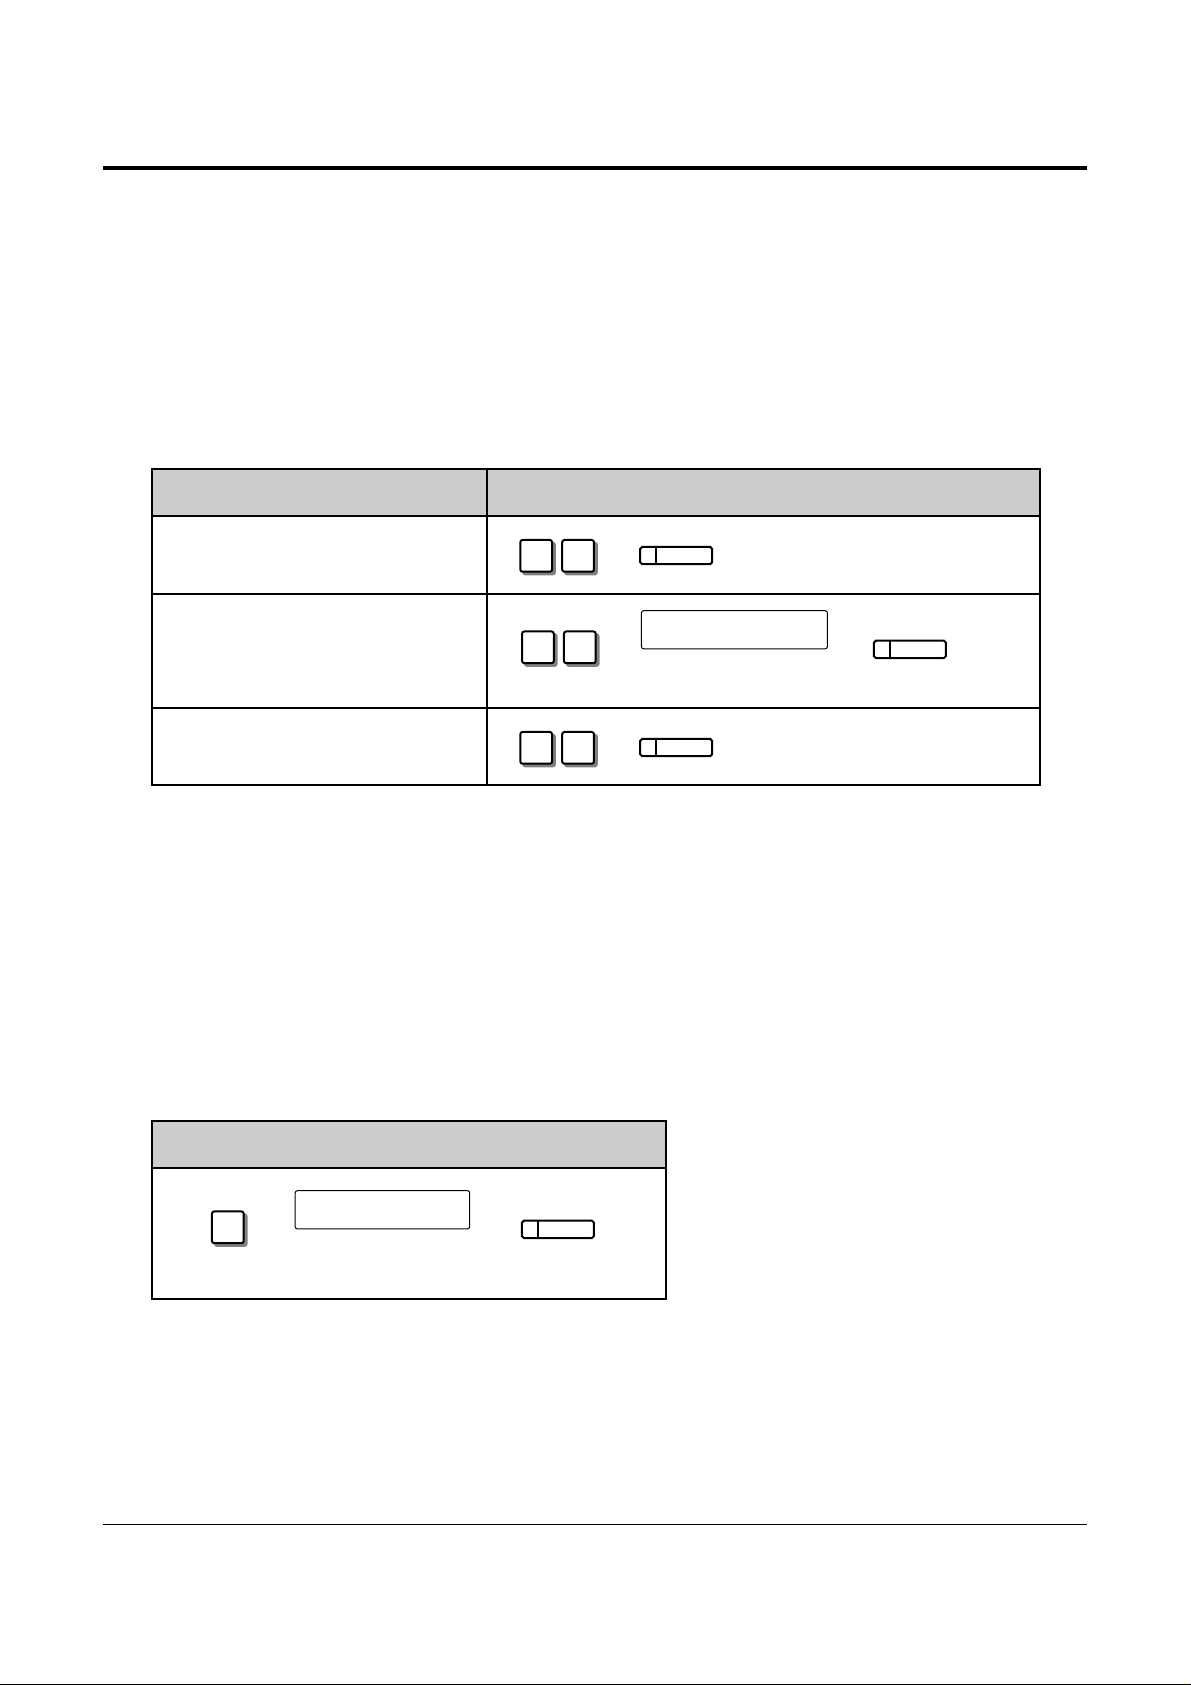
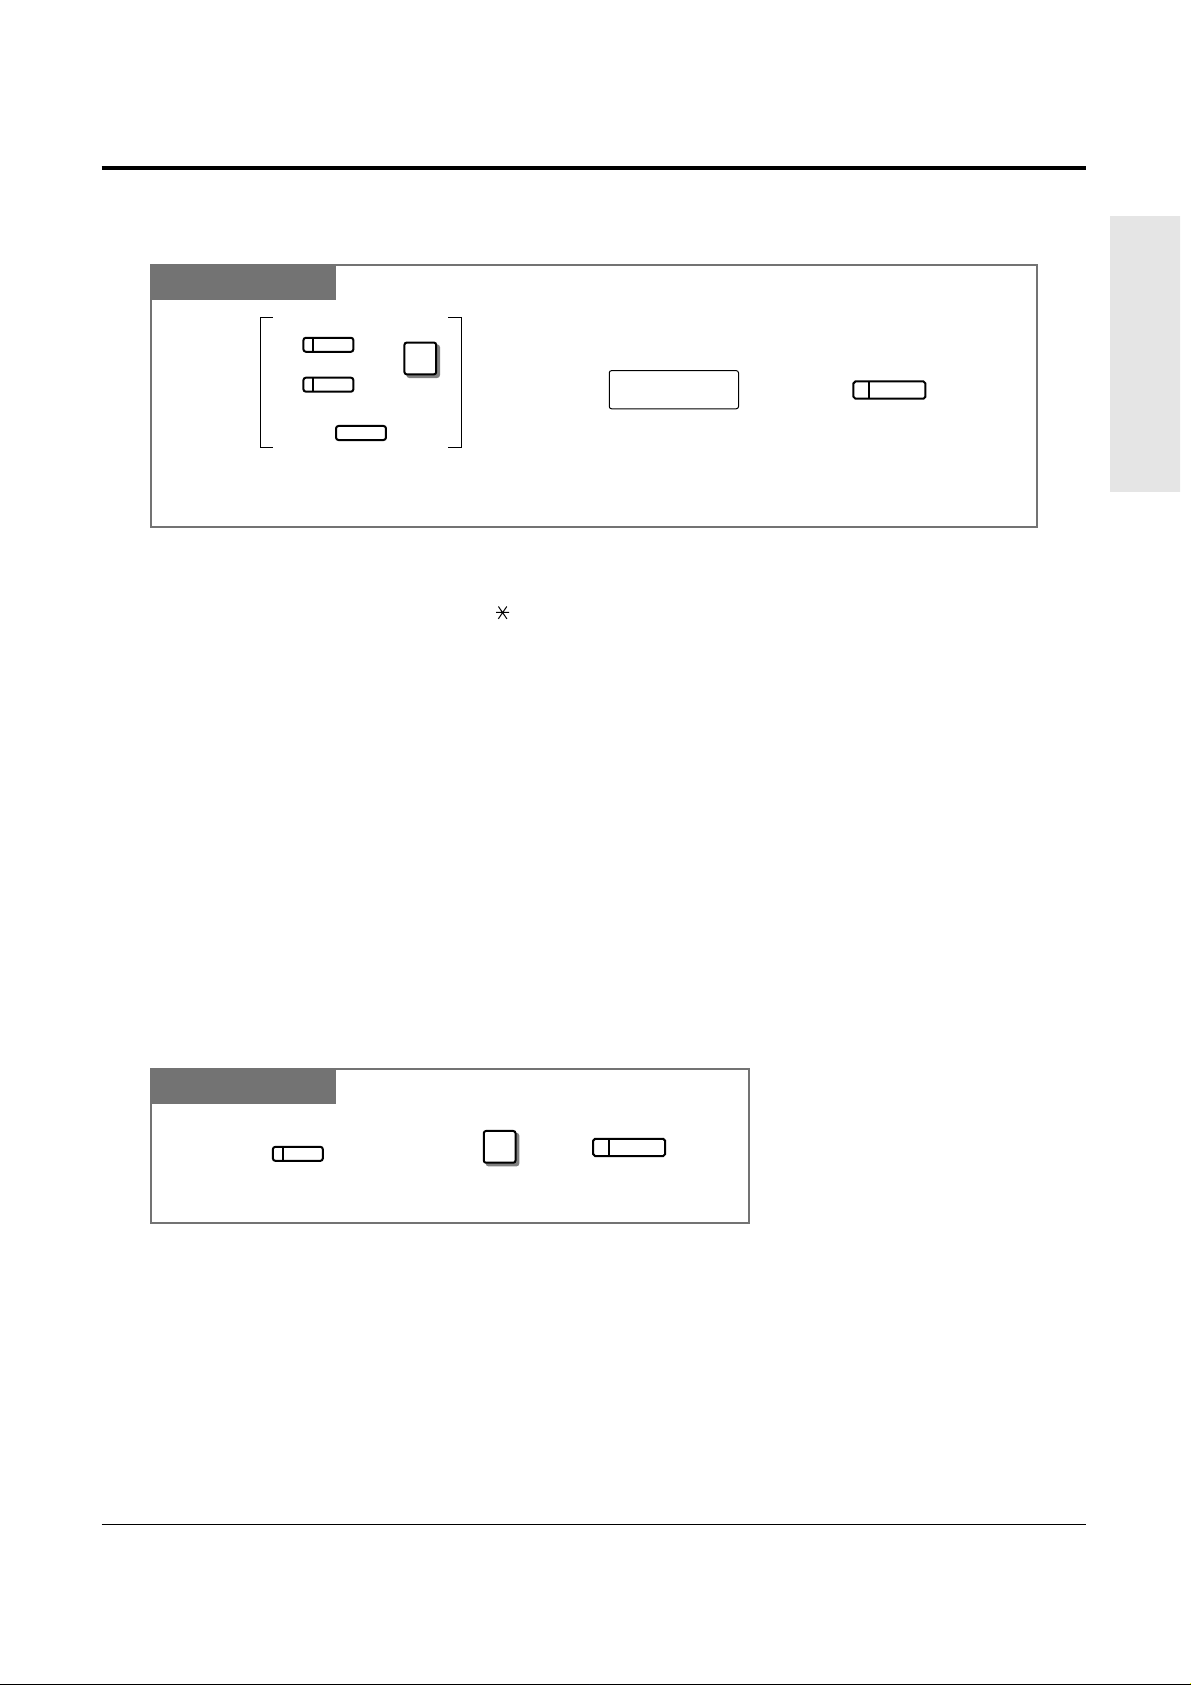
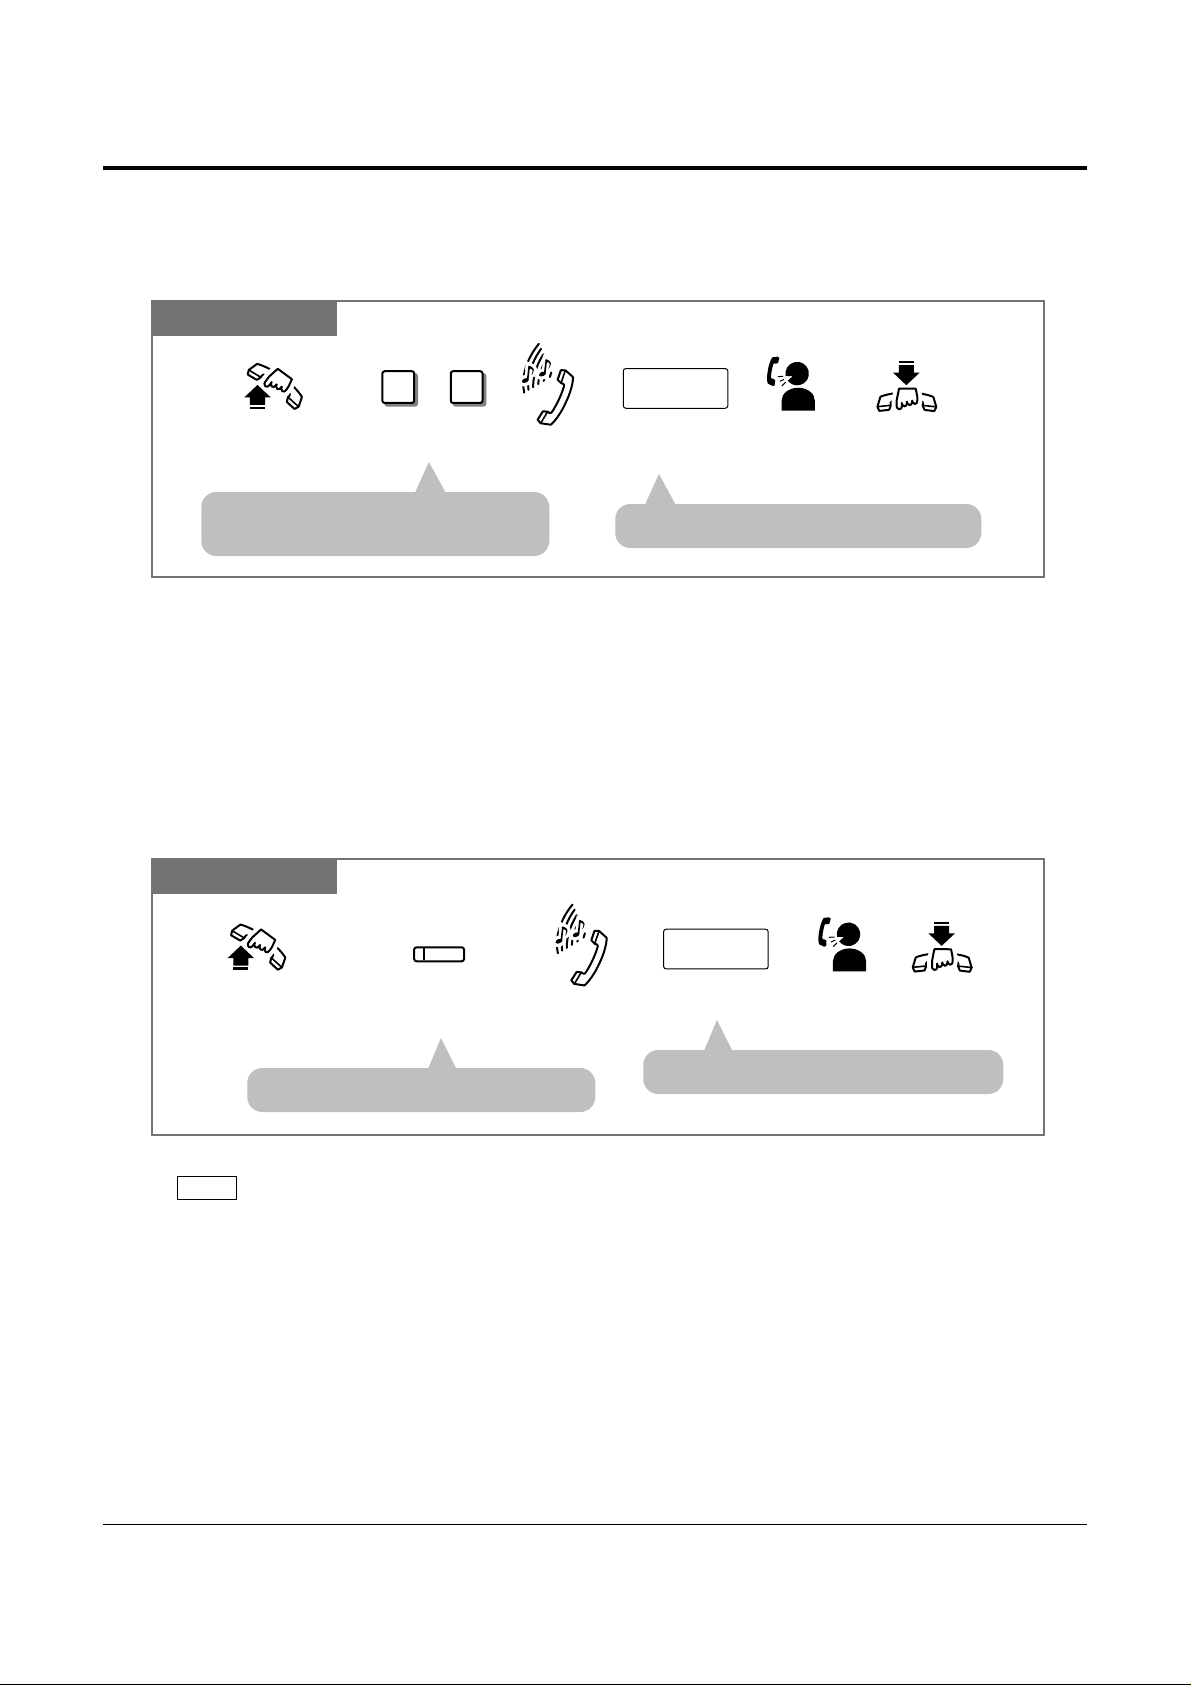
Outside (CO) Line Ringing Selection
You can select whether the extension will ring or not when an outside call is received at your
extension.
• The “Flexible Ringing Assignment” should be set to “Enable”. (See the Installation
Manual.)
• When an outside call is received at your extension but does not ring, the CO indicator will
flash. If you want to answer the outside call, press the flashing CO button.
!
!
❑ Ringing Line Preference.
Preferred Line Assignment — Incoming
No Line Preference: When an incoming outside call is received, the extension user
must go off-hook and then press the flashing CO button.
Prime Line Preference: When incoming outside calls from the Central Office are received
at the same time, you can receive the call on the preferred outside
(CO) line first only by going off-hook.
Ringing Line Preference: When an incoming outside call is received, you can receive the
(default) call ringing at your telephone by going off-hook.
SELECTION PROGRAMMING INPUT
❑ No Line Preference.
❑ Prime Line Preference.
• Setting a new line preference feature will cancel the previous setting.
• In “Prime Line Preference” mode, if incoming calls from the Central Office are received at
the same time except for the preferred outside (CO) line, you must go off-hook and then
press the CO button whose indicator is flashing red quickly.
2 3
Enter the outside (CO) line
number (1 through 6).
outside (CO) line no.
AUTO DIAL
STORE
Operations 1-7
1.2 Proprietary Telephone Settings
Basic Operations
OPERATION
• 1.5 During a Conversation, “Call Waiting”
• 2.1 Tone / Ring Tone List
Proprietary Telephone Setting Data Default Set
Allows you to reset the proprietary telephone settings at an extension to the default settings.
• Preferred Line Assignment — Outgoing (default: No Line Preference)
• Preferred Line Assignment — Incoming (default: Ringing Line)
• Outside (CO) Line Ringing Selection (default: Ring – all outside (CO) lines)
• Intercom Alert Assignment (default: Tone Call)
• Call Waiting Tone Selection (default: Tone 1)
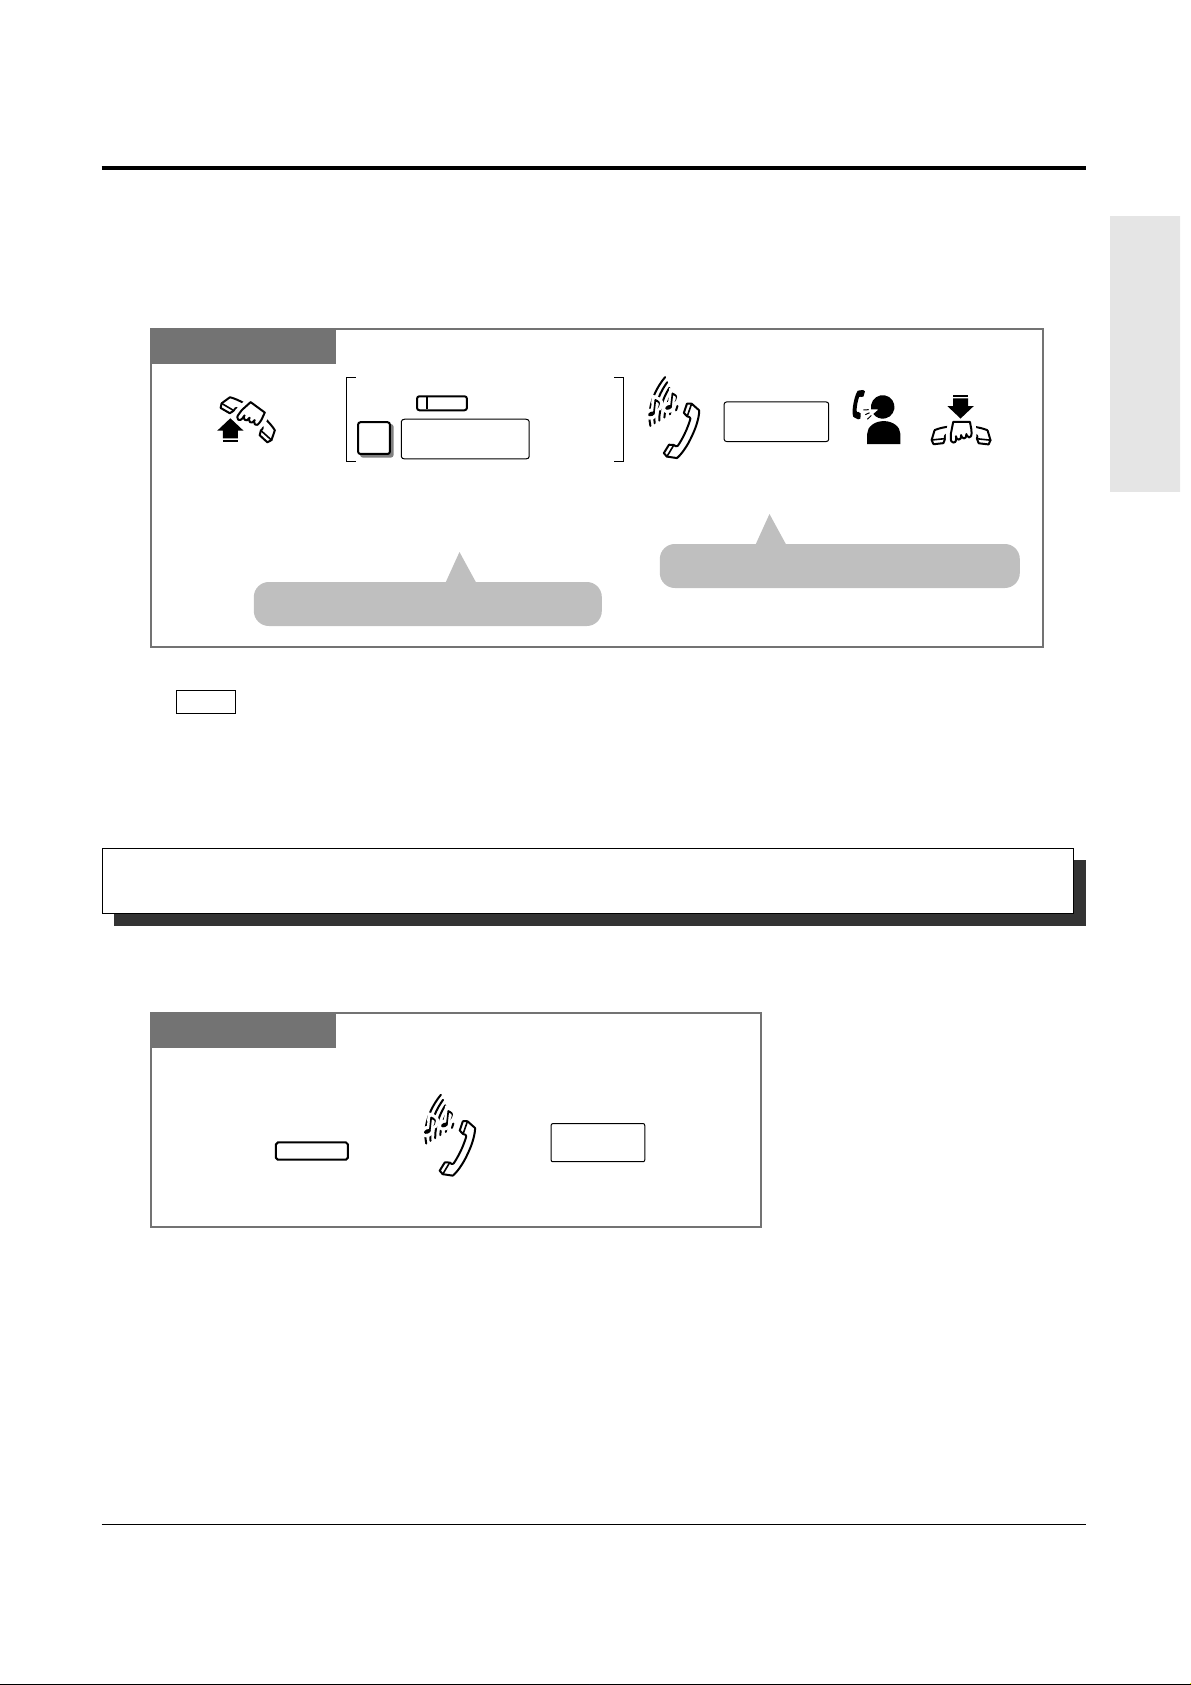
Call Waiting Tone Selection
You can select the call waiting tone, either Tone 1 (default) or Tone 2.
SELECTION PROGRAMMING INPUT
❑ Tone 1
❑
Tone 2
☞
Intercom Alert Assignment
The intercom alert (tone/voice) at a receiving extension can be selected by programming.
Voice Call: A Voice alert instead of Tone alert is heard through the speaker on the
receiving extension.
Tone Call (default): A tone alert (ringing) sounds at the receiving extension.
SELECTION PROGRAMMING INPUT
❑ Tone
Call
(Cancels the
Voice Call.)
❑
Voice Call
• This feature also cancels the Handsfree Answerback feature and pressing the
AUTO ANSWER/MUTE button in the Room Monitor feature.
!
!
AUTO DIAL
5 1
STORE
AUTO DIAL
5 2
STORE
1-8 Operations
1.2 Proprietary Telephone Settings
“✔” indicates that the feature is available.
• To confirm the stored function data
Press the button you want to confirm.
• As to the buttons on your proprietary telephone, please refer to your proprietary telephone
manual.
!
!
PROGRAMMABLE BUTTON
CO DSS PF
FUNCTION
MESSAGE
✔
✔
✔
✔
✔
✔
✔
✔
✔
✔
✔
✔
✔
✔
✔
✔
✔
✔
✔
DSS (Direct Station Selection)
One-Touch Dialing
CONF (Conference)
FWD/DND (Forward/Do Not Disturb)
SAVE
Log-In/Log-Out
Single-CO (S-CO)
Other CO (O-CO)
Group-CO (G-CO)
MESSAGE (Message Waiting)
Day
Night
Lunch
Station Lock
Changing the Flexible Buttons
You can change the flexible buttons on your telephone to certain function buttons. For
example, if your telephone has more CO buttons than available outside (CO) lines, you may
change the unused CO buttons to One-Touch Dialing buttons, etc.
The 4 types of flexible buttons are as follows:
• Flexible CO Buttons (located on a PT only)
• Flexible DSS Buttons (located on a DSS Console only)
• Programmable Feature (PF) Buttons (located on a PT and DSS Console)
• Flexible MESSAGE Buttons (located on a PT except for the KX-T7055)
Check the required operation first. If your telephone is not provided with the button, you can
assign the button using this program.
Customizing the Buttons on Your Telephone
Operations 1-9
1.2 Proprietary Telephone Settings
Basic Operations
Line Access Buttons
One of the following 3 types of CO buttons must be used to seize an outside (CO) line when
making a call.
• Group-CO (G-CO) button
• Other-CO (O-CO) button
• Single-CO (S-CO) button
• A flexible CO button can be assigned as a Line Access Button (G-CO, O-CO or S-CO) in
Proprietary Telephone Settings. Once a flexible CO button is assigned as a Line Access
Button, it provides the line status using lighting patterns and color indication. Please refer to
“2.2 LED Indication”.
• You can set the G-CO and S-CO buttons on one telephone. Incoming and outgoing calls on
the line are shown on the button in the following priority. S-CO > G-CO
Single-CO (S-CO) Button
A S-CO button is an outside (CO) line access button. This allows you to access a specific line
by pressing a S-CO button. An incoming call can be directed to a S-CO button.
!
!
!
!
PT
Press the programmable button. Dial 0. Enter an outside (CO) line number (1 through 6).
0
Press STORE.
CO
outside (CO) line no.
AUTO DIAL
STORE
• Only one S-CO button can be assigned to an outside (CO) line.
• The same outside (CO) line can be assigned as a S-CO button and G-CO button.
PT
Other CO (O-CO) Button
Outside (CO) lines which are not assigned to S-CO or G-CO buttons can be assigned to a
flexible CO button on a proprietary telephone. The assigned button serves as the O-CO button.
An incoming call, on assigned outside (CO) lines, arrives at the O-CO button. To make an
outside call, you simply press the designated O-CO button.
Press the programmable button.
Press STORE.
AUTO DIAL
STORE
CO
Dial .
1-10 Operations
1.2 Proprietary Telephone Settings
PT
DSS (Direct Station Selection) Button
Press the programmable button.
Press STORE.Dial 1.
1
AUTO DIAL
STORE
extension no.
Enter an extension number
(100 through 199).
CO
MESSAGE
Group-CO (G-CO) Button
To use outside (CO) lines efficiently, a group of outside (CO) lines (outside (CO) line group)
can be assigned to a CO button. This button is referred to as Group-CO (G-CO) button. Any
incoming calls from any outside (CO) line in the outside (CO) line group arrive at the G-CO
button. To make an outside call, you can access an idle outside (CO) line in the group by
simply pressing the assigned G-CO button.
• The same line can be assigned as a S-CO button and G-CO button.
• The extension for making and/or receiving calls in outside (CO) line groups must be
programmed.
• When your extension is assigned as the incoming call destination for an outside (CO) line,
you cannot receive any incoming outside calls unless a G-CO, O-CO or S-CO button
associated with the line is assigned.
PT
Press the programmable button. Dial #. Enter an outside (CO) line group number
(1 through 6).
Press STORE.
AUTO DIAL
STORE
CO
outside (CO) line group no.
#
!
!
• 1.3 Making Calls, “Intercom Calling”
☞
• To store the telephone number of an external party, a line access code (9, 0 or 81 through
86) must be stored as the first digit.
• You can use 0 through 9, , #, PAUSE and INTERCOM (Secret) as follows.
PAUSE: inserts a pause.
INTERCOM: conceals all or part of a stored number.
• The number of Personal Speed Dialing numbers corresponds to the number of PF buttons
assigned as One-Touch Dialing. (PF buttons are on a proprietary telephone.) You cannot
assign both the One-Touch Dialing and Personal Speed Dialing features to the same
number. For example, if you assign One-Touch Dialing to the PF 1 button and then Personal
Speed Dialing 0, only the Personal Speed Dialing 0 feature will be assigned.
• 1.7 Useful Features, “Secret Dialing”
Operations 1-11
1.2 Proprietary Telephone Settings
Basic Operations
One-Touch Dialing Button
PT
Press the programmable button and dial 2
or press the PF button.
Press STORE.
AUTO DIAL
STORE
telephone no.
Enter the telephone number
(max. 24 digits).
2
CO
MESSAGE
PF
)(
+
!
!
PT
CONF (Conference) Button
Press the programmable button. Dial 3.
3
Press STORE.
AUTO DIAL
STORE
CO
• 1.7 Useful Features, “Conference (3-party)”
• 1.7 Useful Features, “Conference, Unattended”
• 1.7 Useful Features, “Conference (5-party)”
☞
☞
1-12 Operations
1.2 Proprietary Telephone Settings
• 1.7 Useful Features, “Joining or Leaving a Call Distribution Group (Log-In/Log-out)”
• See the Installation Manual, Section 3, “Log-In/Log-Out”.
☞
PT
Log-In/Log-Out Button
Press the programmable button. Dial 8.
8
Press STORE.
AUTO DIAL
STORE
CO
Press the programmable button. Dial 5.
5
Press STORE.
AUTO DIAL
STORE
CO
• 1.3 Making Calls, “Redialing the Saved Number (Saved Number Redial)”
☞
FWD/DND (Forward/Do Not Disturb) Button
PT
Press the programmable button. Dial 4.
4
Press STORE.
AUTO DIAL
STORE
CO
• 1.6 Before Leaving Your Desk, “Forwarding a Call (Call Forwarding)”
• 1.7 Useful Features, “Rejecting Incoming Calls (Do Not Disturb – DND)”
☞
Operations 1-13
1.2 Proprietary Telephone Settings
Basic Operations
PT
Restoring the MESSAGE Button
Allows you to restore the message waiting feature to the MESSAGE button.
Press MESSAGE. Dial 3.
3
Press STORE.
AUTO DIAL
STORE
MESSAGE
One-Touch Access for System Features
Features that can be accessed using the dialing buttons can also be programmed into memory.
Programming
PT
PT
AUTO DIAL
STORE
Enter the desired feature number. Press STORE.
feature number
Press the programmable button and dial 2
or press the PF button.
2
CO
MESSAGE
PF
)(
+
To Access
• If you want to use a programmable feature button as a button for External Feature Access,
you can press the FLASH button instead of the feature number. When you press the
assigned button, you can access special features (e.g. Call Waiting) offered by a host PBX
or Central Office.
!
!
• Whether the confirmation tone is heard or not depends upon the programmable feature.
!
!
Off-hook. Confirmation tone (1 beep)
Press the programmable button
assigned above.
1-14 Operations
1.2 Proprietary Telephone Settings
The CONTRAST selector is used to adjust the display contrast.
Display Contrast Adjustment
The Panasonic Advanced Hybrid System supports the use of a headset on a proprietary
telephone (PT). When you use the headset (optional), you should switch the selection mode
first.
When Using the Headset
PT
HIGH LOW
MID
CONTRAST
Adjust the CONTRAST lever to the
desired setting (LOW/MID/HIGH).
HANDSET HEADSET
Adjust the HANDSET/HEADSET
lever to “HEADSET”.
• This feature is available for a KX-T7330/KX-T7033/KX-T7030/KX-T7130 only.
!
!
• This feature is available for a KX-T7330/KX-T7033/KX-T7030/KX-T7130 only.
!
!
Operations 1-15
1.2 Proprietary Telephone Settings
Basic Operations
Allows you to adjust the following volume settings as necessary.
To adjust the handset receiver volume
Volume Control — Handset Receiver/Headset/Ringer/Speaker
To adjust the headset volume
To adjust the ringer volume
To adjust the speaker volume
PT
or
VOLUME
NORMAL HIGH
HANDSET
VOLUME
Adjust the HANDSET VOLUME lever to the desired setting (three levels from NORMAL to HIGH) on the KX-T7000 series.
OR
Press the VOLUME Control buttons on the KX-T7300 series.
NORMAL HIGH
HANDSET
VOLUME
Adjust the HANDSET VOLUME lever to the desired setting (three levels from NORMAL to HIGH) on the KX-T7000 series.
OR
Press the VOLUME Control buttons on the KX-T7300 series.
Be sure the headset is connected.
or
VOLUME
HIGH OFF
LOW
RINGER
Adjust the RINGER Volume lever to
the desired setting (OFF/LOW/HIGH).
VOLUME
Adjust the VOLUME Control lever to the desired setting (MAX to MIN) on the KX-T7000 series.
OR
Press the VOLUME Control buttons on the KX-T7300 series.
MAX MIN
or
VOLUME
1-16 Operations
1.3 Making Calls
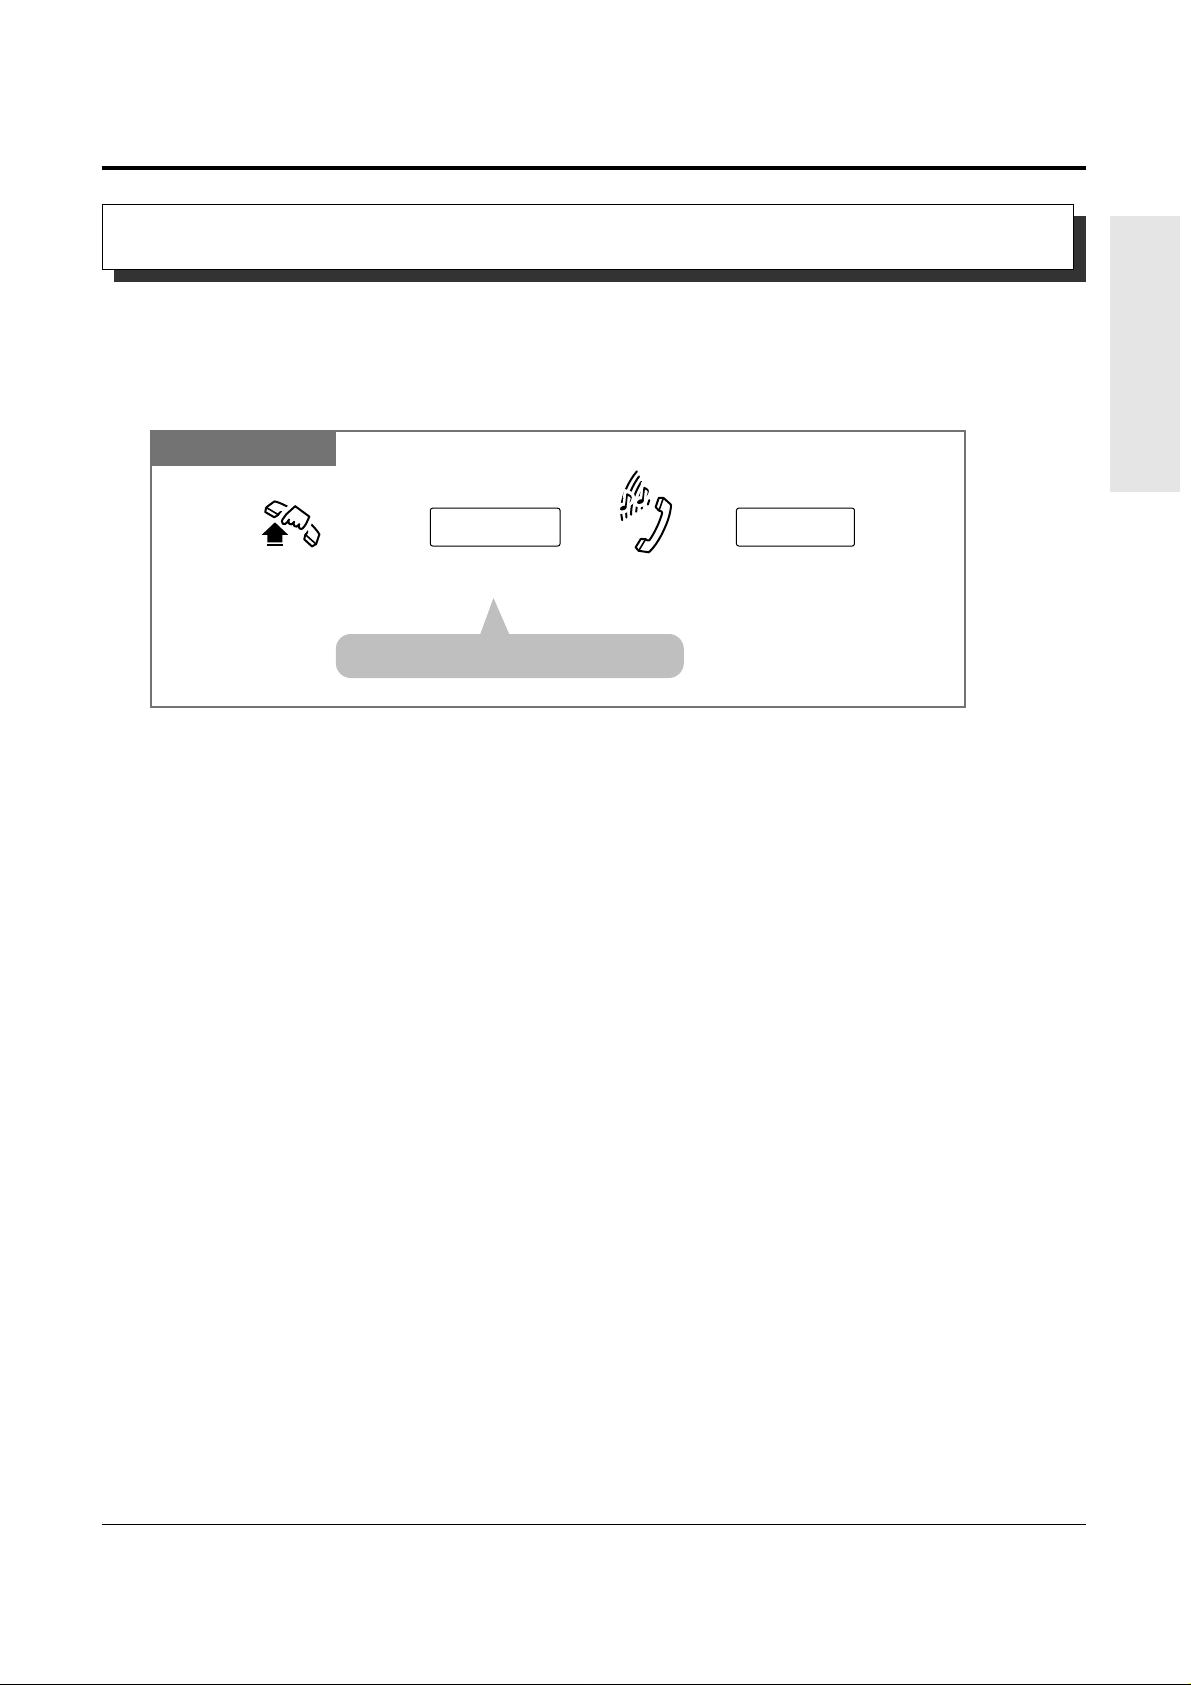
Intercom Calling
• After dialing an extension number, you will hear one of the following tones.
Ringback tone: Indicates the destination extension is being called.
Confirmation tone: Indicates you can perform voice calling (e.g. Paging).
Busy tone: Indicates the destination extension is busy.
Do Not Disturb (DND) tone: Indicates the destination extension has set the “Do Not
Disturb (DND)” feature.
• An extension number and a name, if programmed, are shown on a display PT during an
intercom call.
• You can assign a DSS button on a flexible button in Proprietary Telephone Settings. The
stored number can be displayed in the following way.
1. Set the MEMORY switch to “PROGRAM” or press the PROGRAM button on the
KX-T7300 series.
2. Press the desired button while on-hook.
The number will be displayed. After checking the number return the MEMORY switch to
the “SET” position or press the PROGRAM button on the KX-T7300 series.
• You can press a flexible button assigned as a DSS button directly to make an intercom call
without going off-hook. It can be done by System Programming.
PT
PT
PT
Allows you to make a call to another extension.
Using the handset
Any Telephone
extension no.
Lift the handset. Talk.
Hang up.
Enter
the extension number
(100 through 199).
Lift the handset or press
SP-PHONE/MONITOR.
Talk.
Hang up or press
SP-PHONE.
Press the flexible button
assigned as a DSS button.
extension no.
Press SP-PHONE
or INTERCOM.
Talk.
Enter
the extension number
(100 through 199).
Press SP-PHONE.
SP-PHONE
SP-PHONE
or
INTERCOM
Using the Speakerphone
Using a DSS (Direct Station Selection) button
!
!
Operations 1-17
1.3 Making Calls
Basic Operations
Outside Calling
Allows you to make a call to an external party using one of the following line access methods.
1.) Making Outside Calls Using Automatic Line Access
2.) Making Outside Calls Using Individual Line Access
3.) Making Outside Calls Using Outside (CO) Line Group Access
• An outside (CO) line which is not assigned to a CO button cannot be dialed.
• Helpful hints for the Handsfree (speakerphone) operation are noted in the “Handsfree
Operation” feature.
• 1.2 Proprietary Telephone Settings, “Customizing the Buttons on Your Telephone”,
Single-CO (S-CO) Button,
Group-CO (G-CO) Button
• 1.6 Before Leaving Your Desk, “Locking Your Telephone (Electronic Station Lockout)”
• 1.7 Useful Features, “Calling with Account Codes (Account Code Entry)”
• 1.7 Useful Features, “Calling Using Your Privileges at Another Extension (Walking COS)”
• 1.8 Operator / Manager Service Features, “Remote Station Lock”
• See the Installation Manual, Section 3, “Outside Calling”.
• See the Installation Manual, Section 3, “Toll Restriction Override by Account Codes”.
• See the Installation Manual, Section 3, “Toll Restriction — Station Lock Boundary Class”.
• See the Installation Manual, Section 3, “Toll Restriction”.
PT
PT
Calling an Operator (Operator Call)
• If an operator is not assigned, this feature is not available and you will hear a reorder tone.
• If the line access number is assigned to “0” by System Programming, the operator call
number will be changed to “9”.
• See the Installation Manual, Section 3, “Operator Call”.
Allows you to call an operator within the system. One extension can be assigned as an operator.
Any Telephone
Dial 0 or 9.
Lift the handset or press
SP-PHONE/MONITOR.
0 9
or
!
!
!
!
☞
☞
• 1.2 Proprietary Telephone Settings, “Customizing the Buttons on Your Telephone”,
DSS (Direct Station Selection) Button
• 2.1 Tone/Ring Tone List
• See the Installation Manual, Section 3, “Intercom Calling”.
☞
1-18 Operations
1.3 Making Calls
Making Outside Calls Using Automatic Line Access
Allows you to select an available outside (CO) line automatically.
Any Telephone
Dial 9 or 0.
Enter the phone
number.
9 0
phone no.
Lift the handset or press
SP-PHONE/MONITOR.
Hang up or press
SP-PHONE.
Dial tone
Talk.
or
• The selected CO indicator light turns
green.
• The display shows the phone number.
• You may skip off-hook and press the Single-CO (S-CO) button directly.
PT
Making Outside Calls Using Individual Line Access
Allows you to select the desired outside (CO) line without dialing the line access code.
PT
Press the CO assigned
as a Single-CO button.
Enter the phone number.
phone no.
Lift the handset
or press
SP-PHONE/MONITOR
.
Hang up or press
SP-PHONE
.
Dial tone
Talk.
CO
• The CO indicator light turns green.
• The display shows the phone number.
!
!
• If the line access number is assigned to “0” by System Programming, the operator call
number will be changed to “9”.
!
!
Operations 1-19
1.3 Making Calls
Basic Operations
PT and SLT
For a PT: Press the CO assigned as
the Group-CO button.
For an SLT: Dial 8 and the outside (CO) line
group number (1 through 6).
Enter the
phone number.
phone no.
Lift the handset
or press
SP-PHONE/MONITOR
.
Hang up
or press
SP-PHONE
.
Dial tone
Talk.
For an SLT
For a PT
8
outside (CO)
line group no.
CO
• The CO indicator light turns green.
• The display shows the phone number.
• You may press the Group-CO button directly without going off-hook.
PT
Making Outside Calls Using Individual Outside (CO) Line Group Access
Allows you to select an idle line within a designated outside (CO) line group.
Through System Programming, outside (CO) lines can be divided into 6 line groups.
!
!
• System Programming may be required to perform this feature properly.
• During an outside call, the FLASH button can be used as a External Feature Access button.
• 1.7 Useful Features, “External Feature Access”
• See the Installation Manual, Section 3, “Flash”.
Allows you to disconnect the current call and make another call without hanging up.
PT
Press FLASH.
Enter
the phone number.
FLASH
phone no.
While hearing any tone, dialing, or talking
Dial tone
1-20 Operations
1.3 Making Calls
• Helpful hints for the Handsfree operation:
— Use this unit in a quiet room for best performance.
— If you and the other party talk at the same time, parts of your conversation will be lost.
To avoid this, talk alternately.
• The handsfree mode is canceled if you do not start dialing within 10 seconds.
• The KX-T7350/KX-T7050/KX-T7055 have MONITOR buttons instead of a SP-PHONE
button. It can be used for handsfree dialing, etc., but it cannot be used for a handsfree
conversation.
• You can enable the handsfree mode by pressing a CO or INTERCOM button.
• See the Installation Manual, Section 3, “Handsfree Operation”.
PT
PT
PT
PT
PT
Switching from handsfree to the handset mode
!
!
Allows you to dial and to talk to the other party without lifting the handset.
Handsfree Operation
PT
• The microphone and speaker are now activated and the
handsfree operation is available.
PT
Press SP-PHONE.
SP-PHONE
Hang up.
• Do not replace the handset without pressing the SP-PHONE
button first, or the line will be disconnected.
Switching from the handset to handsfree mode
☞
Operations 1-21
1.3 Making Calls
Basic Operations
• An emergency call is allowed even in the following cases,
— Account Code – Verify–All mode
— Any toll restriction COS number
— Electronic Station Lockout
• If your system is connected to a host PBX, you must dial the host PBX line access code
after the line access code.
• See the Installation Manual, Section 3, “Emergency Call”.
Allows you to dial a pre-assigned emergency number after seizing an outside (CO) line.
Up to 5 emergency dial numbers can be stored.
Dialing
Any Telephone
Lift the handset or press
SP-PHONE/MONITOR.
Dial the line access code
(9, 0 or 81 through 86).
line access code emergency no.
Dial the emergency number.
Dial tone
• You may press a CO button instead.
Making Emergency Calls (Emergency Call)
!
!
☞
1-22 Operations
1.3 Making Calls
• The destination numbers are stored in Proprietary Telephone Settings.
• You may press a CO button to select a desired outside (CO) line before pressing the
One-Touch Dialing button.
• “Speed Dialing”, “One-Touch Dialing” and manual dialing can be used together.
• You can store a number consisting of 25 digits or more by dividing and storing it into 2
One-Touch Dialing buttons.
• A pause is automatically entered after the stored line access code, 9, 0 or 81 through 86,
when dialing.
• To confirm the current status of the button, press the button while on-hook.
• 1.2 Proprietary Telephone Settings, “Customizing the Buttons on Your Telephone”,
One-Touch Dialing Button
• See the Installation Manual, Section 3, “One-Touch Dialing”.
PT
PT
PT
PT
PT
PT
!
!
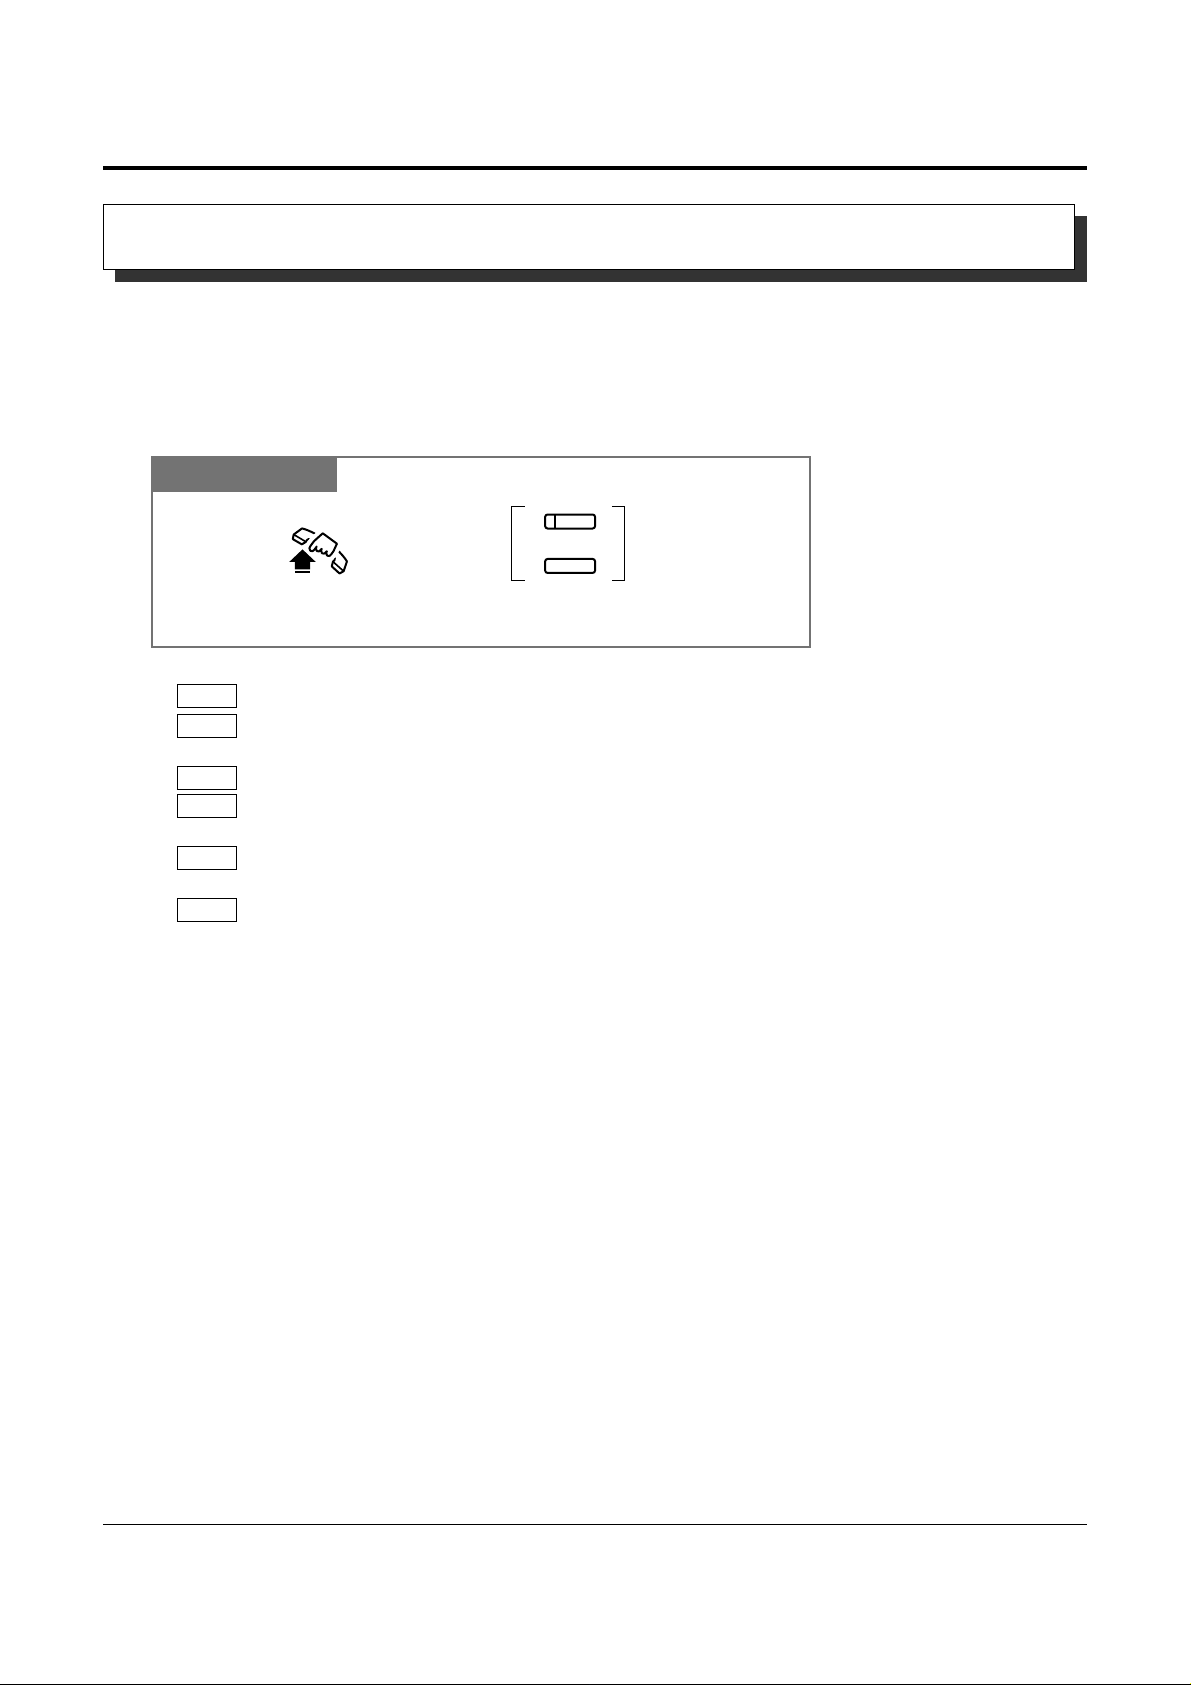
Dialing by Simply Pressing a Button (One-Touch Dialing)
Allows you to call a number or access a system feature with the touch of a button. This is
done by storing an extension number, telephone number or feature number (up to 24 digits) in
a One-Touch Dialing button.
Dialing
PT
Lift the handset or press
SP-PHONE/MONITOR.
Press the flexible button assigned as
a One-Touch Dialing button or PF button.
PF
Loading…
Главная / Контакты,Цены,… / Инструкции
Вы можете скачать инструкции и программы к мини АТС с сайта, или приобрести полный сборник на DVD.
TELEST
Системы записи телефонных разговоров TELEST — программа TeleRec, инструкции ,rar, (13Mb) версия ПО 6.14 от 02.02.2017
Скачать TeleRec CTI, TSP драйвера к АТС Panasonic и инструкцию по установке (40Mb)
Системы записи телефонных разговоров TELEST — драйвера к устройствам ,rar, (1Mb)
Сотовые терминалы Telest T2 и Т3 — инструкция по эксплуатации ,Рус. zip
Cотовый терминал Telest T4 — инструкция по эксплуатации , Рус. zip
АТС Panasonic
IP-УАТС Panasonic KX-NS1000 — Руководство по функциям. Рус. pdf 6,7 MB
IP-УАТС Panasonic KX-NS1000 — Руководство по установке. Рус. pdf 9,5 MB
IP-УАТС Panasonic KX-NS1000 — PC-Programming Manual. Рус. pdf 6,2 MB
IP-УАТС Panasonic KX-NS1000 — Руководство пользователя. Рус. pdf 5,9 MB
IP-УАТС Panasonic KX-NCP1000-500 — Руководство по функциям. Рус. pdf 4,4 MB
IP-УАТС Panasonic KX-NCP1000-500 — Руководство по установке. Рус. pdf 3,4 MB
IP-УАТС Panasonic KX-NCP1000-500 — Руководство по организации IP-сети. Рус. pdf 3,9 MB
IP-УАТС Panasonic KX-NCP1000-500 — Руководство пользователя. Рус. pdf 4,4 MB
IP-УАТС Panasonic KX-NCP1000-500 — Запуск в эксплуатацию. Рус. pdf 2,6 MB
IP-УАТС Panasonic KX-NCP1000-500 — Руководство по программированию на СТ. Рус. pdf 2,8 MB
IP-УАТС Panasonic KX-TDE100-200 — Руководство по функциям. Рус. pdf 4,1 MB
IP-УАТС Panasonic KX-TDE100-200 — Руководство по установке. Рус. pdf 4,8 MB
IP-УАТС Panasonic KX-TDE100-200 — Руководство по организации IP-сети. Рус. pdf 2,6 MB
IP-УАТС Panasonic KX-TDE100-200 — Руководство пользователя. Рус. pdf 4,5 MB
IP-УАТС Panasonic KX-TDE100-200 — Запуск в эксплуатацию физических плат. Рус. pdf 1,9 MB
IP-УАТС Panasonic KX-TDE100-200 — Запуск в эксплуатацию виртуальных IP-плат. Рус. pdf 2,4 MB
IP-УАТС Panasonic KX-TDE100-200 — Руководство по программированию на СТ. Рус. pdf 1,8 MB
IP-УАТС Panasonic KX-TDE100-200 — Краткая инструкция по установке — 8-канальная базовая IP-станция DECT KX-NCP0158. Рус. pdf 2,2 MB
IP-УАТС Panasonic KX-TDE100-200 — Краткая инструкция по установке — Базовая станция DECT. Рус. pdf 1,2 MB
IP-УАТС Panasonic KX-TDE100-200 — Руководство по замене платы MPR. Рус. pdf 0,18 MB
IP-УАТС Panasonic KX-TDA100D — Руководство по функциям. Рус. pdf 3,8 MB
IP-УАТС Panasonic KX-TDA100D — Руководство по установке. Рус. pdf 3,6 MB
IP-УАТС Panasonic KX-TDA100D — Информация о системных IP-телефонах. Рус. pdf 1,8 MB
IP-УАТС Panasonic KX-TDA100D — Руководство пользователя. Рус. pdf 4,2 MB
IP-УАТС Panasonic KX-TDA100D — Запуск в эксплуатацию. Рус. pdf 1,5 MB
IP-УАТС Panasonic KX-TDA100D — Руководство по программированию на СТ. Рус. pdf 1,7 MB
IP-УАТС Panasonic KX-TDE600 — Руководство по функциям. Рус. pdf 4,4 MB
IP-УАТС Panasonic KX-TDE600 — Руководство по установке. Рус. pdf 7,7 MB
IP-УАТС Panasonic KX-TDE600 — Руководство по организации IP-сети. Рус. pdf 3,9 MB
IP-УАТС Panasonic KX-TDE600 — Руководство пользователя. Рус. pdf 4,4 MB
IP-УАТС Panasonic KX-TDE600 — Руководство по программированию на СТ. Рус. pdf 2,8 MB
IP-УАТС Panasonic KX-TDE600 — Руководство по замене платы MPR. Рус. pdf 0,16 MB
АТС Panasonic KX-TDA600 — Описание функций АТС, Рус., Англ., Укр., Кит.
АТС Panasonic KX-TDA600 — Инструкции по программированию АТС, Рус., Англ., Укр., Кит.
АТС Panasonic KX-TDA600 — Инструкции по монтажу АТС, Рус., Англ., Укр., Кит.
АТС Panasonic KX-TDA600 — Инструкции по эксплуатации АТС, Рус., Англ., Укр., Кит.
АТС Panasonic KX-TDA600 — Инструкции по программированию АТС, Рус., Англ., Укр., Кит.
АТС Panasonic KX-TDA600 — Инструкции по системным IP-телефонам, Рус., Англ., Укр., Кит.
АТС Panasonic KX-TDA600 — Краткие инструкции по эксплуатации системных и простых телефонов, Рус., Англ., Укр., Кит.
Panasonic KX-TD500RU — Верс. 2 — Инструкция по монтажу. Рус. pdf 12,3 MB
Panasonic KX-TD500RU — Верс. 2 — Инструкция по программированию Рус. pdf 4,8 MB
Panasonic KX-TD500RU — Верс. 2 — Инструкция по эксплуатации, Рус. pdf 6 MB
Panasonic KX-TD500RU — Верс. 2 — Описание функций Рус. pdf 4,6 MB
Panasonic KX-TD500RU — Верс. 2 — Краткие инструкции пользователя (3 шт.) Рус. zip-pdf 370 KB
Panasonic KX-TD500 — Верс. 2.1-2.6 — Программа для программирования с Help. (Консоль программирования с компьютера). zip 12 MB
Panasonic KX-TD500 — Версии 2.4,2.5,2.6 — файлы русификации. zip 20 KB
Panasonic KX-TD500 — Прошивки ПЗУ V2.6aa zip 1,1 MB
Panasonic KX-TD500 — Прошивки ПЗУ TD50172, TD50170, TD50175 zip 24 KB
Panasonic KX-TD500 — Прошивки ПЗУ TD50290 zip 93 KB
Panasonic KX-TD500 — Верс. 1 — Инструкции по монтажу, программированию, эксплуатации, Рус. zip-doc 7,4 MB
АТС Panasonic KX-TD500 — Верс. 1 — Инструкции по монтажу, программированию, эксплуатации, Англ. pdf
АТС Panasonic KX-TD500,Т336 — Карты Е1, Т1, добавления., Англ.
Panasonic KX-T336 — Инструкции по монтажу, программированию, эксплуатации, Англ. pdf 8 MB
Panasonic KX-T336 — Инструкция пользователя аналогового телефона., Рус.
Panasonic KX-T336 — Прошивки ПЗУ V15.50 zip 570 KB
АТС Panasonic KX-T336 — Прошивки ПЗУ V8, V7, V7амер.
Terminal.exe (Терминал под Windows для программирования КХ-Т336-TD500V1)
Panasonic KX-TDA100-200 — Инструкции по монтажу, программированию, эксплуатации, Рус. zip-pdf 9,6 MB,
Panasonic KX-TDA30 — Инструкции по монтажу, программированию, эксплуатации, Рус. zip-pdf 7,7 MB,
АТС Panasonic KX-TD206 — Инструкции по монтажу, программированию, эксплуатации, дополнения. Англ.
АТС Panasonic KX-TD612 — Инструкции по монтажу, программированию, эксплуатации, Англ.
Panasonic KX-TD1232-TD816 — Инструкция по монтажу, программированию Рус. rar-pdf 2,4 MB
Panasonic KX-TD1232-TD816 — Инструкция по эксплуатации, Рус. rar-pdf 8,7 MB
Panasonic KX-TD1232-TD816 — Дополнения к инструкциям по монтажу, программированию Рус. rar-pdf 8,2 MB
Panasonic KX-TD1232-TD816 — Дополнения к инструкциям по эксплуатации Рус. rar-pdf 12,1 MB
Panasonic KX-TD1232-TD816 — Инструкции пользователя системного, аналогового тел., Рус. rar-pdf 450 KB
Panasonic KX-TD1232-TD816 — Программы для программирования под DOS
Panasonic KX-TD1232-TD816 — Прошивки ПЗУ — V101,221,221B12,231,271…,211,301,401 Инструкции по спарив. rar 3,9 MB
Panasonic KX-TES824-TEM824 — Программы для программирования и драйверы zip 32,9 MB
Panasonic KX-TES824-TEM824 — Инструкции по монтажу, программированию, эксплуатации, Рус., zip-pdf 9,5 MB
Panasonic KX-T123210 — Инструкции по программированию, эксплуатации, Рус. pdf 388 KB
Panasonic KX-T123210 — Инструкции по монтажу, программированию, эксплуатации, Англ. rar-pdf 13,8 MB
Panasonic DBS (Japan) — Инструкции по программированию, эксплуатации, Рус. Англ. zip-doc,pdf 654 KB
Panasonic VB-9 — Инструкции по программированию, эксплуатации, Рус, Прошивка V2.3 zip-pdf 4,5 MB
АТС Panasonic Super-A — Инструкции по эксплуатации, Англ.
АТС Panasonic ICX, S-ICX — Инструкции по программированию, эксплуатации, Англ.
Panasonic KX-TA308-616 — Инструкции по монтажу, программированию. Рус. rar-pdf 2,5 MB
Panasonic KX-TA308-616 — Инструкции по эксплуатации. Рус. rar-pdf 1,1 MB
Panasonic KX-TA308-616 — Дополнения к инструкции по монтажу, программированию. Рус. rar-pdf 500 KB
Panasonic KX-TA308-616 — Дополнения к инструкции по эксплуатации. Рус. rar-pdf 30 KB
Panasonic KX-TA308-616 — Дополнения к инструкциям по DISA-OGM. Рус. rar-pdf 50 KB
Panasonic KX-TA308-616 — Карточка пользовательская., Рус. rar-pdf 59 KB
Panasonic KX-TA308-616 — Инструкции по TVP-50. Рус. rar-pdf 208 KB
Panasonic KX-TA308-616 — Прошивка ПЗУ версии 591Q (с ARS, с программированием с комп.). zip 232 KB
Panasonic KX-T61610 — Инструкции по монтажу, программированию, эксплуатации, Рус. rar-pdf 4,7 MB
Panasonic KX-T30810 — Инструкции по монтажу, программированию, эксплуатации, Рус. rar-pdf 4 MB
Panasonic KX-T61610 — Дополнения., Рус. rar-pdf 598 KB
Panasonic KX-T30810 — Дополнения ., Рус. rar-pdf 581 KB
АТС Panasonic KX-T30810-61610 — Инструкции пользователя сист. аналог. телефонами, консолью., Рус.
Panasonic KX-T206 — Инструкции по монтажу, программированию Рус. rar-pdf 293 KB
Panasonic KX-T206 — Инструкции по эксплуатации, Рус. rar-pdf 266 KB
Panasonic VJ-X15EX — Инструкции по монтажу, программированию, эксплуатации, Англ. rar-pdf 893 KB
Голосовая почта TVP50, TVP100, TVP150, TVP200 Инструкции по монтажу, программированию, эксплуатации, Англ. rar-pdf 3,6 MB
Голосовая почта TVP200 Инструкции по эксплуатации, Рус. rar-pdf 1,7 MB
Siemens
Siemens Euroset Line 308 (3×8) — Инструкции по монтажу, программированию, пользователя, дополнение., Рус. zip 273 KB
Siemens Euroset Line 8 (2×8) — Инструкции по монтажу, программированию, пользователя, Рус. zip 218 KB
Siemens Euroset Line 16 (до 4×16) — Инструкции по монтажу, прогр., пользователя, Рус. zip 77 KB
Siemens Euroset Line 308 (3×8) — Программа для программирования с компьютера.
Телефоны Siemens Euroset 802, 805, 815 — Инструкции пользователя, Рус.
Siemens Gigaset Репитер — Инструкции пользователя, Рус.
LG (Gold Star)
LG LDK300, 100 — Инструкции по монтажу, прогр., пользователя., Рус. zip-doc 916 KB
LG (Gold Star) GDK 162, 100, FPII — Инструкции по монтажу, прогр., пользователя., Рус.zip-doc 3,3 MB
LG (Gold Star) Starex VSP — Инструкции по монтажу, прогр., пользователя., Рус. zip-doc 1,6 MB
LG (Gold Star) GHX 512, 820, 1232, 104, 308, 616, 36, 46 — Инструкции по монт., прогр., польз., Рус. zip-doc 1,3 MB
LG (Gold Star) GSX 1832, 3672, 36112 — Инструкции по монтажу, прогр., пользователя., Рус. zip-doc 80 KB
LG (Gold Star) — Инструкции пользователя системных и аналоговых телефонов., Рус. zip-doc 22 KB
АТС LG LDK300, LDK100 — Программа администрирования, инструкции по программированию, эксплуатации., Рус
Samsung
Samsung SKP 308, 816, 36, 56, 120 — Инструкции по монтажу, прогр., пользователя., Рус. zip-doc 505 KB
Samsung NX 308, 820, 1232 — Инструкции по монтажу, прогр., пользователя., Рус. zip-doc 2,25 MB
АТС Samsung Corex — Описание., Рус.
Samsung DCS Compact II — Инструкции по монтажу. Англ.. rar-pdf 1,3 MB
Samsung DCS Compact II — Общее описание., Рус. rar-pdf 2,5 MB
Samsung DCS Compact II — Руководство по установке., Рус. rar-pdf 4,6 MB
Samsung IDCS 500 — Инструкция по монтажу., Англ.. rar-pdf 1,5 MB
Samsung DCS — Описание., Англ.. rar-pdf 1,5 MB
Samsung DCS — Инструкции пользователя., Рус. rar-pdf 443 KB
Samsung DCS — Инструкции по монтажу, прогр., пользователя., Рус, Англ.. zip-doc 744 KB
AT&T
AT&T (Avaya-Lucent) Merlin Legend — Инструкции по монтажу, прогр., пользователя., Рус. zip-doc 201 KB
AT&T (Avaya-Lucent) Partner — Инструкции по монтажу, прогр., пользователя., Рус. zip-doc 15 KB
AT&T (Avaya-Lucent) Partner II — Инструкции по монтажу, прогр., пользователя., Рус. zip-doc 1,2 MB
AT&T (Avaya-Lucent) Definity — Описание., Рус.zip-pdf 458 KB
AT&T Avaya-Lucent) Partner Mail VS — Инструкции по монтажу, прогр., пользователя., Англ.. zip-pdf 2 MB
Karel
Karel MS 14, 26, 38, 48, 128 — Инструкции по монтажу, прогр., пользователя., Рус.zip-doc 1,7 MB
Coral
АТС Coral — Краткое описание., Рус.
Daewoo
Daytek VMX 206, 308, 416 — Инструкции по монтажу, прогр., пользователя., Рус.zip-pdf 1 MB
Ericsson
Ericsson Erifox — Инструкции по монтажу, прогр., пользователя., Англ. zip-doc 252 KB
Nitsuko
Nitsuko Portrait 824 — Инструкции по монтажу, прогр., пользователя., Англ. zip-pdf 3,5 MB
Квант
Квант-Е — Руководство системного программиста., Рус.
Kirk
Система DECT — Описание., Рус. zip-pdf 1,5 MB
Alcatel
Alcatel 4100 — Руководство пользователя., Рус. zip-doc 211 KB
Перейти к контенту
АТС Panasonic
- Размер инструкции: 999.43 kB
- Формат файла: pdf
Если вы потеряли инструкцию от атс Panasonic KX-TA308RU, можете скачать файл для просмотра на компьютере или печати.
Инструкция для атс Panasonic KX-TA308RU на русском языке. В руководстве описаны возможности и полезные функции, а также правила эксплуатации. Перед использованием внимательно ознакомьтесь с инструкцией.
Чтобы не читать всю инструкцию вы можете выполнить поиск по содержимому внутри инструкции и быстро найти необходимую информацию. Рекомендации по использованию помогут увеличить срок службы атс Panasonic KX-TA308RU. Если у вас появилась проблема, то найдите раздел с описанием неисправностей и способами их решения. В нем указаны типичные поломки и способы их решения.
В наследство досталась старенькая АТС Panasonic KX—TA308, аппарат замечательный шуршит
бесперебойно в углу уже лет 6, но понадобилось подключить еще один телефон к
внешней линии. Ранее работал только с Asterisk, опыта в
программировании аналоговых АТС нет совсем, но глаза боятся руки делают…
АТС этого вида можно программировать двумя способами через
консоль или через некоторые виды телефонных аппаратов. С консолью вариант отпал
сразу, т.к. консольного кабеля не было,
обжимать не хотелось, да и на подручных компьютерах отсутствовали COM и
LPT порты.
Нашелся в конторе аппарат Panasonic KT—T7730.
Согласно инструкции программировать АТС можно с телефонов:
Телефон должен быть подключен в 1 порт на АТС. И необходима
накладка на телефон, это трафарет который накладывается на кнопки, чтобы было
проще ориентироваться в режиме программирования. Внешне выглядит так.
Немного о программировании…
Программированием назвать это трудно )) скорее
конфигурирование. Настройки АТС состоят из программ, каждой из которых присвоен
трехзначный адрес.
Например, программа 000 отвечает за установку даты и
времени. Мы обращаемся к ней, передаем параметры (дату/время) и сохраняем
изменения.
Дальше по тексту будет понятней…
Суть задачи. Открыть пользователю доступ на внешнюю линию. В
блоке АТС 6 портов внешней линии и 16 портов внутренних (увеличено платой KX-TA30877) .
Идем к нашему аппарату KT—T7730.
Переводим телефон в режим программирования кнопочка Program (на
некоторых моделях это тумблер на задней стенке). Аппарат запросит подтверждения
входа в режим программирования, нажимаем на клавиатуре *#.
Вводим пароль, по умолчанию 1234.
Далее за доступ к внешней линии отвечает программа с адресом
405. Вводим 405, далее кнопочку NEXT
(помним про накладку). Вводим номер
внешней линии, нумерация идет согласно портам на АТС, жмем # и номер порта
телефона которому нужно открыть доступ (формат двухзначный 01,02,03…) кнопочкой
Select
меняем значение на Enable,
далее кнопочка Store и End.
Если спикер выдал один сигнал — параметр успешно установлен, если два –
параметр уже присутствует, три – ошибка, нужно проверить все ли верно ввели. Из
режима программирования аппарат выводим кнопочкой Program, все готово. Проверяем выход на
внешнюю линию.
Полезные ссылки.