
Applies ToPowerPoint для Интернета
В Интернете можно легко и быстро создать буклет вот такого вида:
Выберите один из наших шаблонов брошюр и откройте его в программе Office в Интернете, чтобы сделать его вашим (некоторые брошюры предназначены для редактирования в Веб-приложение PowerPoint; другие работают в Word в Интернете ).
Совет: Если вы уже используете Веб-приложение PowerPoint, перейдите к шаблонам брошюры, выбрав Файл > Создать, а затем под изображениями шаблонов щелкните Дополнительно на Office.com.
Вы перейдете на страницу Шаблоны для PowerPoint. В списке категорий выберите Буклеты.
При работе с брошюрой вы, вероятно, захотите переименовать файл и заменить заполнители рисунками, которые вам нужны. Для этого щелкните правой кнопкой мыши ненужный рисунок, выберите команду Изменить картинку, затем выберите другое изображение.
Предоставление общего доступа к буклету
Когда все будет готово, распечатайте письмо или отправьте его в электронном виде. Это можно сделать с помощью брошюры, по-прежнему открытой в Веб-приложение PowerPoint. Нет необходимости предварительно сохранять его (это уже сделано за вас).
Печать
Чтобы напечатать буклет, нажмите клавиши CTRL+P, дождитесь появления диалогового окна «Печать» и щелкните ссылку для открытия PDF-версии в календаре. В этом окне воспользуйтесь командой печати в программе просмотра PDF-файлов.
Общий доступ
Чтобы поделиться календарем в Интернете, отправьте ссылку на него.
-
В верхней части экрана нажмите кнопку Общий доступ.
-
В разделе Общий доступ щелкните элемент Получить ссылку.
-
В списке Выберите один из вариантов выберите пункт Только просмотр.
-
Нажмите кнопку Создать ссылку.
-
Щелкните веб-адрес, чтобы выделить его, а затем скопируйте и вставьте его в сообщение электронной почты, текстовое сообщение или запись блога.
Нужна дополнительная помощь?
Нужны дополнительные параметры?
Изучите преимущества подписки, просмотрите учебные курсы, узнайте, как защитить свое устройство и т. д.
May 01, 2024
Booklets can be created in Microsoft PowerPoint, which offers a design feature that allows users to display them in PPT slides. With this, your output will look like a mini book-style presentation being flipped as you click next during your slide show presentation.

Build a Booklet for Microsoft PowerPoint – Step-by-Step Instructions
Indeed, booklets are much easier to make in Microsoft Word when you need to print documents that fit booklet formats. But with Microsoft PowerPoint, you create booklets for the sake of seeing the flipping of pages on a slide show; hence, the booklet is a form of animation for slides.
Step 1: Open Microsoft PowerPoint
In order to start creating your booklet, you need to make sure that you have installed Microsoft Office on your PC or laptop, then open the Microsoft PowerPoint application.
Step 2: Look for a Booklet Template on the Software (Option 1)

Visit Template.net to choose the ideal booklet template. There are various templates available that can be customized to meet your requirements.
Step 3: Make Use of the Search Bar to Look for a Template (Option 2)
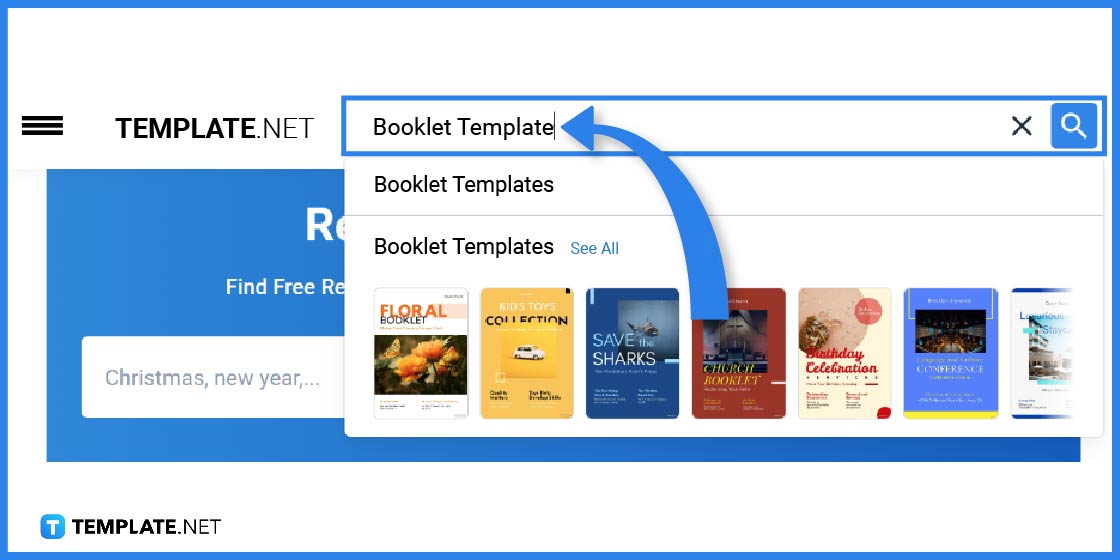
You can also utilize the search field to find a particular or general booklet template. After typing the keyword in the search field, click the search icon.
Step 4: Select a Booklet Template to Edit on Microsoft PowerPoint
Pick a good booklet template based on your needs or purposes. Click on the image in order to get better access to the product page after choosing one.
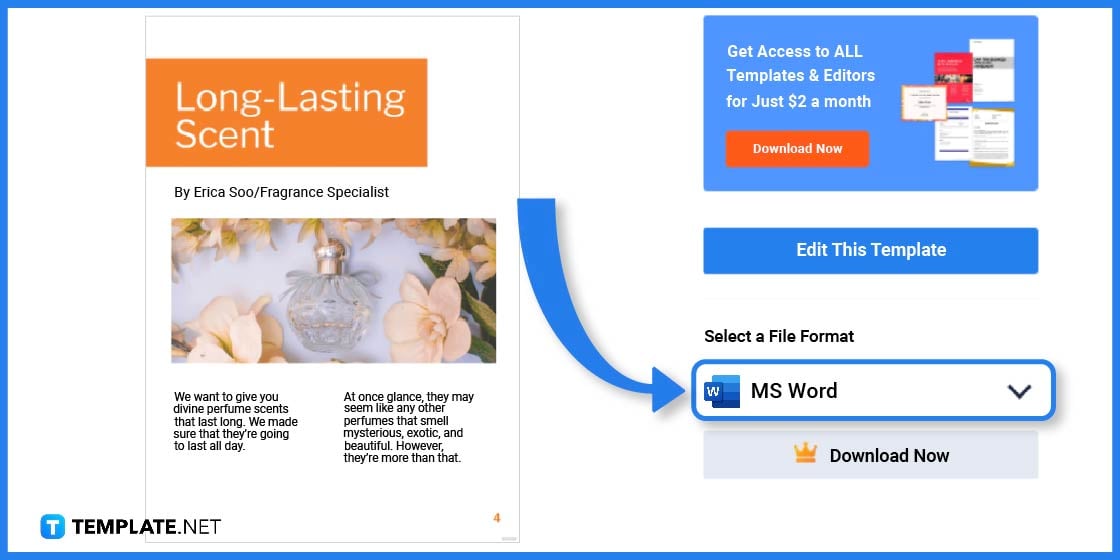
Step 5: Select a File Format and Save
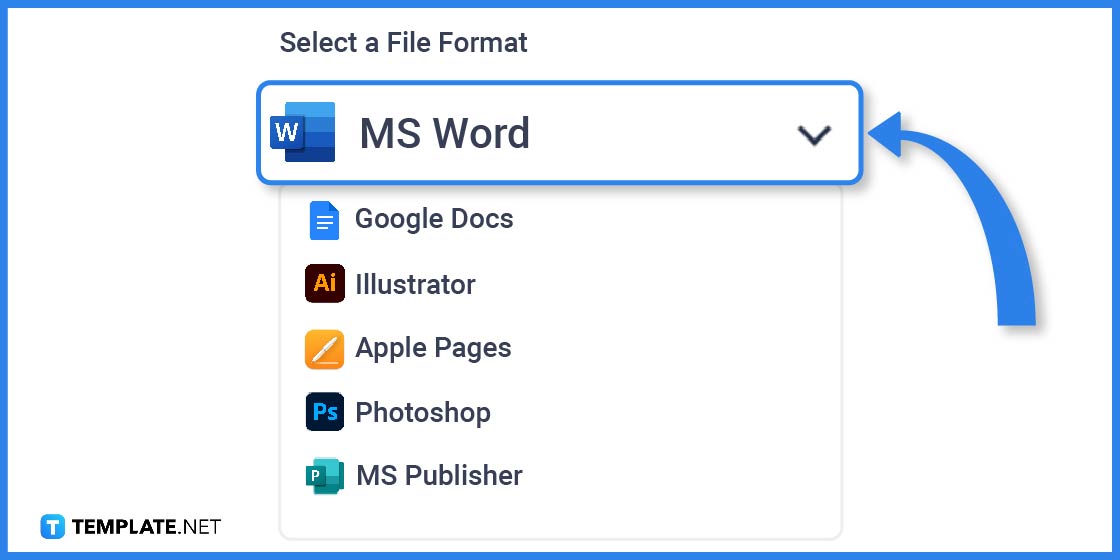
Keep in mind that you need to choose the right file format to use. In this case, you choose MS Word, as this type of file format is still compatible with Microsoft PowerPoint.
Step 6: Export the Zip File
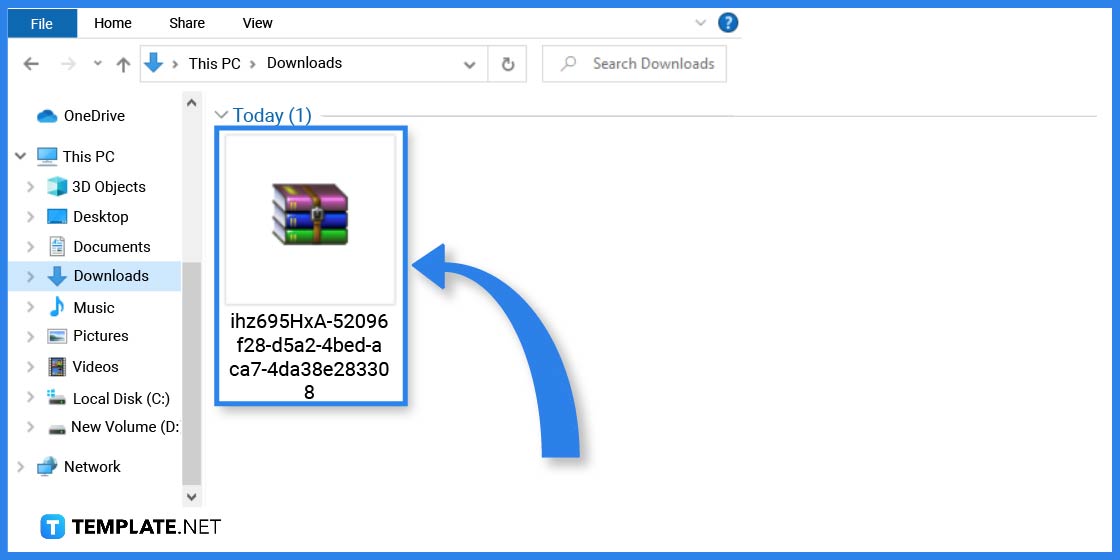
The downloaded file will be saved as a zip file that you will need to export and save on your computer or laptop.
Step 7: Add the Title

Insert the saved template in Microsoft PowerPoint and start with your editing process. Begin by adding the title of your booklet and the author’s name.
Step 8: Input the Content

Now, you need to input the content of your booklet depending on your purpose, whether you outline a service or a product you wish to market.
Step 9: Include Some Graphics
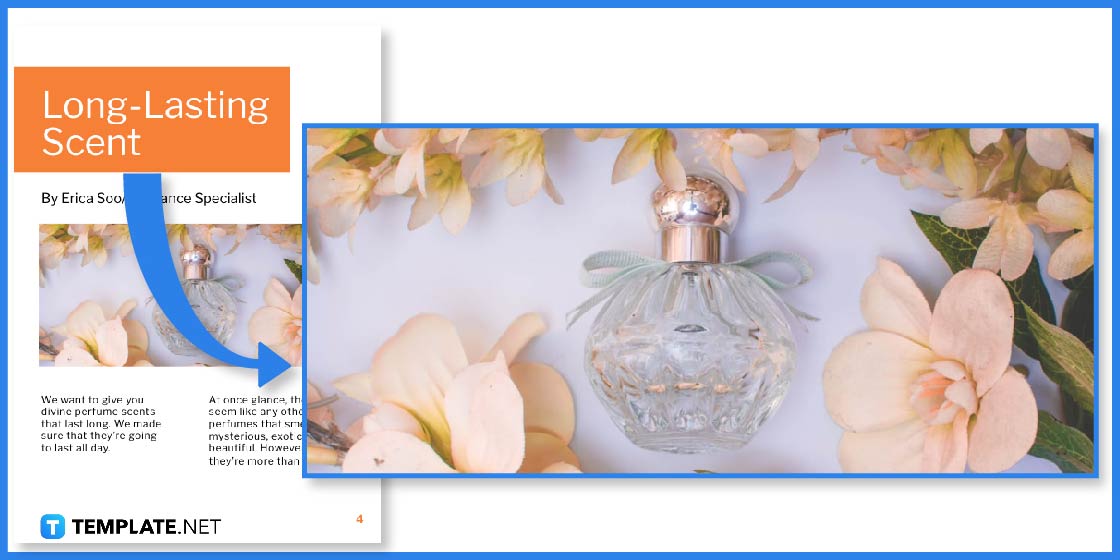
To make your booklet more effective, you might consider including some graphic images that relate to the topic.
Step 10: Save the Booklet Template
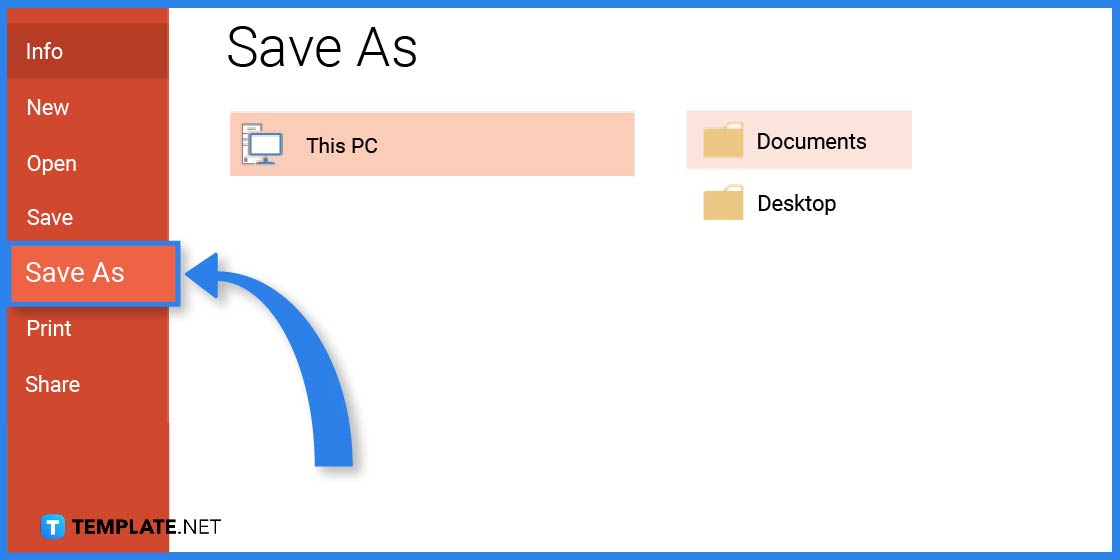
If you are satisfied with your edits, you need to save the document. In Microsoft PowerPoint, navigate to the File tab and select the Save As option, choose a location, and input the file name to save the customized booklet.
Booklet Templates & Examples in Microsoft Word
Numerous businesses use booklets as a marketing strategy to increase sales and enlighten customers about a certain topic. Having said that, you can change and customize a variety of booklet templates and examples using Microsoft Word.
Product Booklet Template
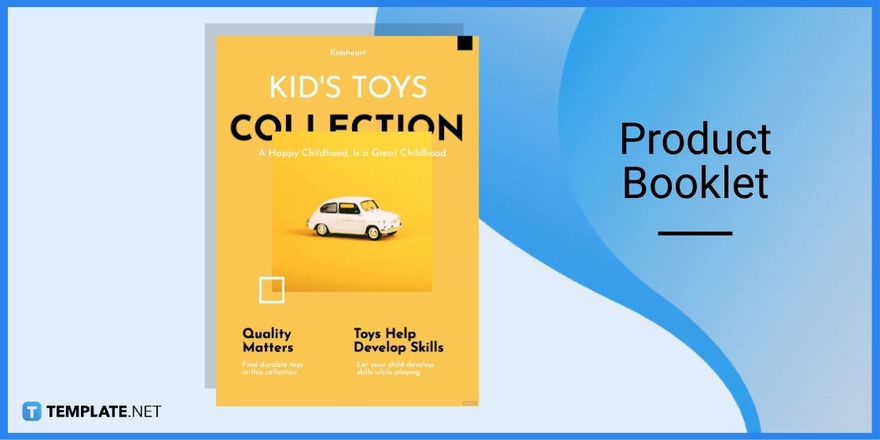
A product booklet is a fantastic way to introduce the world to your products. Through this template, potential buyers might gain knowledge about the products and determine whether they wish to place an order.
Church Booklet Template
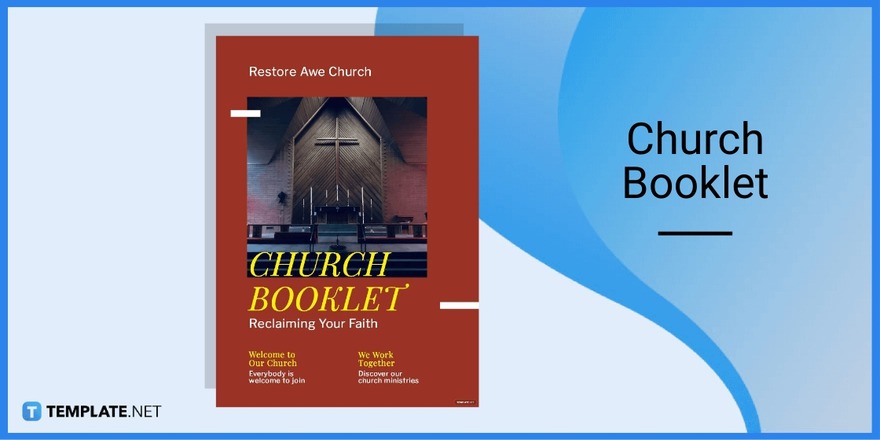
A church booklet template is a practical and affordable strategy to engage more local attendees. This template is ideal for emphasizing your shared beliefs with the audience and activities that will benefit your potential audience or attendees.
Fitness Booklet Template
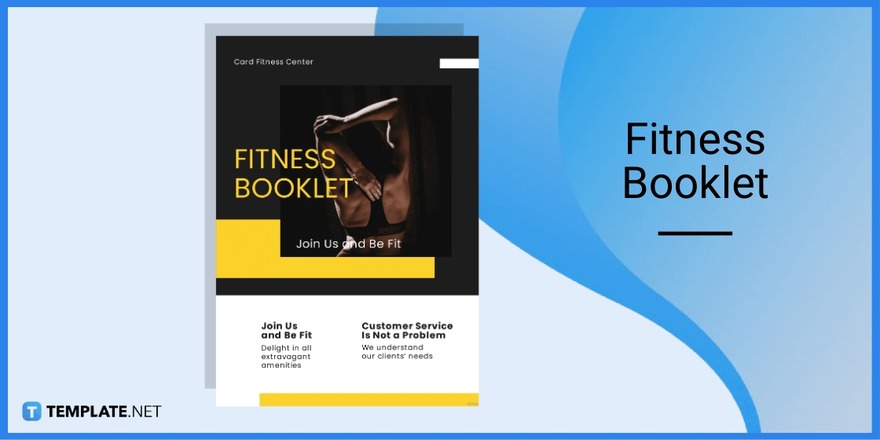
A fitness booklet can encourage new members to sign up for a gym or hire a personal trainer. This booklet does the best job of explaining the services provided and the advantages of living a healthy lifestyle.
Conference Booklet Template

Anyone wishing to publicize their future social events and increase corporate sales can choose a conference booklet template with ease. This template will assist you in grabbing the audience’s attention right away, thanks to its excellent fonts, images, and overall outstanding look and feel.
Fashion Booklet Template

Create a fashion booklet for your clients to advertise your upcoming collection. Customers will be interested and eager to purchase the items if they are given an overview of the clothes, accessories, and footwear that will be available for the upcoming season.
FAQs
How do you print a PowerPoint as a booklet?
Head to the “Page Layout” tab, choose “Brochure” as your layout since a brochure is the closest to a booklet layout, click “All pages” from the drop-down menu, and tap “Print.”
How do I make a booklet in PowerPoint 2020?
Latest PPT versions such as PowerPoint 2020 have an option for booklet printing by opening the file you want to print as a booklet, selecting “Page Setup” found in the “Page Design” category, clicking “Booklet” for the layout type on the dialog box that appears, and setting the standard width in 8.5 in and height in 11 in.
Can I make a digital planner in PowerPoint?
Yes, you can definitely create a Microsoft PowerPoint file in a planner format which you can edit on your computer or device anytime.
Were you looking to promote your business, event, or offering? With this free tutorial, learn how to make an impressive brochure or pamphlet in PowerPoint easily. We will walk through a step-by-step process to design and format a professional-looking brochure using PowerPoint’s versatile tools. You can build stunning brochures from scratch even if you have no prior design experience. Let’s get started!
Before Making a Brochure in PowerPoint
Before jumping into the design process, take the time to complete these preparations, which will ensure your workflow is efficient and organized:
Gather Content
Collect all the assets you want to feature in the brochure, such as text, logos, images, contact information, pricing lists, etc. Having this content ready will make putting together the brochure smoother. Organize the materials into sections to incorporate them once the template is set up.
Choose Brochure Dimensions
Decide on the orientation, size, and folding options for your brochure. Tri-fold brochures are a popular choice for their versatility and compact size. Standard paper sizes like 8.5 x 11 inches (letter size) or 11 by 25.5 inches (tabloid size) work well for tri-folds. You can also opt for custom dimensions if needed.
Create a Design Template
Plan out the brochure structure and sections – sketch designs to visualize layouts. Use PowerPoint’s template selection to find a premade design that matches your vision, or create your custom template with placeholders for text, graphics, etc.
Tip:
-
Having a template ready makes adding content faster since the design foundations are complete.
PowerPoint, renowned for its exceptional visual designs and functionalities, is a versatile tool for crafting compelling promotional materials such as flyers and brochures. This guide is tailored to walk you through a streamlined process of creating impactful brochures using PowerPoint.
If you have an Office 365 subscription, the easiest way to create a brochure is by using PowerPoint templates available online. Find a design that suits your vision, add your content, and personalize it to your liking. If you prefer to build your brochure from scratch or if you cannot find the suitable template, the following instructions are intended for you:
Step 1: Launch a Blank Presentation in PowerPoint.
Step 2: Insert a table with one row and three columns. Navigate to the Insert tab, click on Table, and select the outline for a one-row, three-column table.
Step 3: Resize the table dimensions to 8.5 x 11 inches (= 21,59 x 27,94 cm), aligning with standard brochure dimensions. Resize the table using the handles on the border or utilize Table Tools Layout for precise adjustments.
Step 4: Ensure a clean aesthetic by selecting No Fill for all three columns. Go to Table Design > Shading > No Fill.
Step 5: Create a dual-screen brochure by duplicating the current slide. Right-click the slide thumbnail, choose Duplicate Slide from the menu, and configure your brochure’s front and back layout.
Step 6: Enhance your brochure’s visual appeal by adding images. Navigate to Insert > Pictures, and choose where to get the pictures. Arrange and resize the images strategically.
Step 7: Type content into the table columns. Utilize the Home tab for formatting options and adjusting fonts, sizes, and alignments. Consider using a slightly larger font and bold formatting for titles and headings.
Step 8: Review and refine the placement and size of images.
Step 9: When done, save your presentation through File > Save As, specifying the folder and format. Alternatively, click Print, choose your printer, and configure the printing parameters if immediate printing is desired.
Tips for Attractive Brochure Layouts
Brochures effectively highlight your business offerings and events. Whether distributed in person or online, they’re versatile and easy to print. Despite the digital age, brochures stand out as a vital marketing tool.
Here are some useful tips and best practices for designing appealing brochure layouts in PowerPoint:
-
Use high-quality photos: Select vibrant, high-resolution photos that complement your brand and message. Avoid blurry or pixelated images.
-
Align elements thoughtfully: Align text boxes, images, and other elements in a structured way for clean lines and symmetry. Use alignment guides.
-
Apply consistent formatting: Keep fonts, colors, and graphic styles consistent across each panel for cohesion.
-
Balance text and negative space: Don’t overcrowd the brochure. Allow breathing room between sections and incorporate white space.
-
Create contrast: Use contrasting colors and fonts to differentiate sections. Dark text on light backgrounds provides the needed contrast.
-
Highlight important info: Make key facts, contact details, or pricing stand out through larger or bold text, borders, or contrasting colors.
-
Use icons and graphics: Incorporate relevant icons, charts, or illustrations to visualize processes or concepts. Graphics make content more engaging.
-
Add useful callouts: Use pull quotes, sidebars, or text boxes to call attention to your most important content as needed.
Following brochure design best practices will create an informative and aesthetically pleasing brochure that captivates your audience.
WPS Presentation – An Excellent Alternative to PowerPoint
WPS Presentation is a fantastic option if you’re looking for an affordable alternative to Microsoft PowerPoint for creating brochures, presentations, and more.
KEY FEATURES:
-
10,000+ Free Templates: WPS Presentation offers a diverse template library with modern brochures, flyers, reports, and presentation designs. Easily customize any template.
-
Smooth Performance: It has a fast, fluid interface that allows you to design seamlessly, even with large files. The streamlined software doesn’t overload your PC.
-
Online Collaboration: Store and access your files on the WPS Cloud for online editing and sharing. Collaborate on projects in real-time for added convenience.
-
Cross-Platform Compatibility: Create seamless files that open properly in Microsoft PowerPoint. WPS Presentation maintains consistency when sharing across platforms.
-
Budget-Friendly: Get robust design capabilities absolutely free or upgrade to the premium version for more features at a pocket-friendly price.
-
AI-integrated: This software has a built-in AI assistant that offers guidance and generates user ideas.
WPS Presentation is a great option if you’re looking for brochure design software that’s easy to use and affordable. With its abundant templates and intuitive interface, you can easily drag and drop, customize, and stylize brochure content without prior design experience.
Whether you’re a small business owner or part of a team, WPS Presentation can help you create professional-looking brochures that will impress your audience.
Trustpilot4.8
WPS Office- Free All-in-One Office Suite
-
Use Word, Excel, and PPT for FREE, No Ads.
-
Edit PDF files with the powerful PDF toolkit.
-
Microsoft-like interface. Easy to learn. 100% Compatibility.
-
Boost your productivity with WPS’s abundant free Word, Excel, PPT, and CV templates.
Algirdas Jasaitis
logo
WPS Template – Make your brochure excellent
WPS templates offer diverse options across Presentation, Writer, and Spreadsheet categories. Users can explore free themed templates like Nature, Wedding, Medical, and more.
To download and use WPS templates, simply follow these steps:
Step 1: Visit WPS templates website: https://template.wps.com/.
Step 2: Browse through various categories such as Presentation, Writer, and Spreadsheet.
Step 3: Choose a template that suits your needs, click on it, and find the two options: to “Edit in browser” or “Download” this template.
If you decide to modify the template, the website will prompt you to log in using your WPS account and then take you to the editing interface with WPS 356:
If you opt to download, the template file (.pptx) will start downloading. After completion, open it in any presentation software:
How to Download WPS Presentation
Downloading WPS Presentation with access to those premium brochure templates only takes a couple of minutes:
Step 1: Go to the official WPS Office website: https://www.wps.com/.
Step 2: Click on Free Download.
Step 3: The installer file will download. Double-click to run it.
Step 4: Click Install Now and follow the setup wizard prompts to install WPS Office on your PC.
Step 5: Once installed, open WPS Office > New > Slides to browse professional templates sorted by category, including brochures.
Now you have fantastic brochure templates and the versatile tools of WPS Presentation at your fingertips! Craft a brochure you’re proud to share in no time.
FAQs
How do I choose the orientation and size of my brochure?
Choose your brochure size based on content volume. A4 for detailed catalogs, A5 for dynamic content, A6 for essentials. Consider A3 for impactful visuals.
Can I use PowerPoint on a Mac to create brochures?
Yes, PowerPoint is available on both Windows and Mac platforms, so you can design brochures on either desktop operating system.
Can I add interactive elements to my digital brochure?
Absolutely. You can use PowerPoint’s hyperlink feature to add links to websites, other slides, or documents throughout your brochure. Buttons allow you to add clickable hotspots that trigger actions.
Summary
Designing an eye-catching brochure in PowerPoint is easy with the right templates and tools. Follow the tips in this guide to create a professional tri-fold or bi-fold brochure tailored to your brand. Plan your content, choose a template, add visuals, refine the layout, and export for printing or digital sharing. For an affordable PowerPoint alternative, WPS Presentation offers a robust set of free templates and features to craft stunning brochures that captivate your audience.
Since PowerPoint provides excellent visual designs and functions, you can use it to create flyers, brochures, and similar materials. In this article, we intend to walk you through a simple brochure creation guide.
- If you have an active Office 365 subscription, the fastest method of creating a brochure requires you to search online for a PowerPoint brochure template. Once you find a brochure design you like, all you have to do is select it, fill it with your data, and specify your preferences.
- If you don’t have access to online PowerPoint templates or if you prefer to create your brochures from scratch, then the instructions in this guide are directed at you.
By the time you are doing reading this article, you will have learned how to create beautiful brochures in PowerPoint.
9 Steps to Creating and Designing a Brochure in PowerPoint
Step 1: Open a standard presentation in PowerPoint
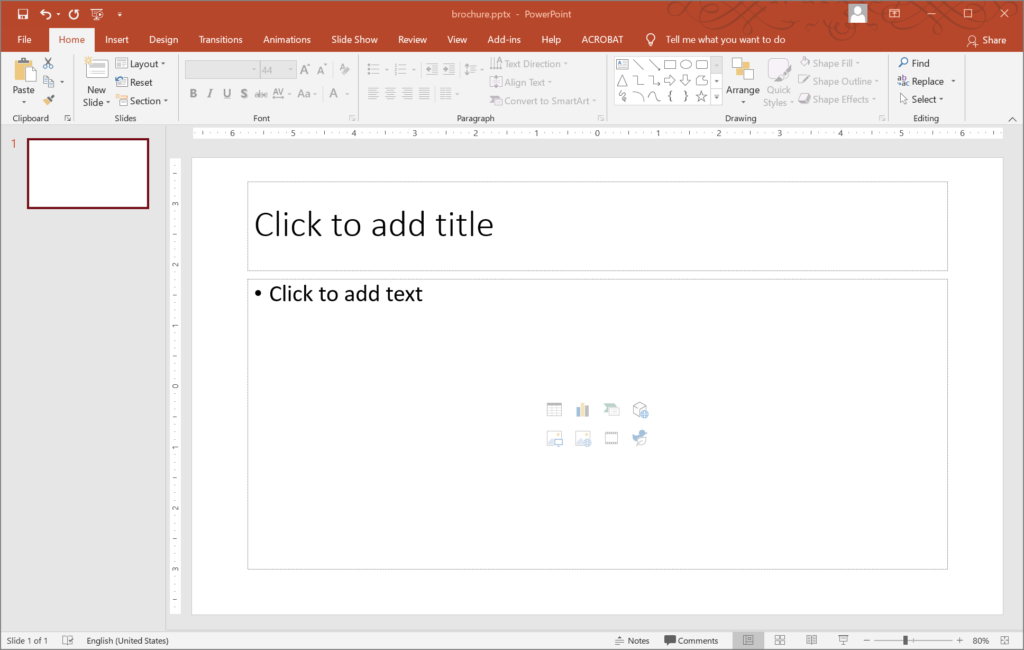
Open the PowerPoint program on your computer. Remember you are creating a brochure from scratch, so there is no prepared template to kick start your work.
Ideally, you should open a blank slide. Otherwise, if you open a slide with elements on it already, you have to delete all the placeholders and text boxes on it to get an empty layout.
Step 2: Add a table
At this point, you have to insert a table with 1 row and 3 columns.
- Click the Insert tab (close to the top of the PowerPoint window).
- Click Table.

- Choose the outline for the table on the first row while selecting 3 squares.
Alternatively, to create a one-row three-column table, do this:
- Go through Table > Insert Table.
- On the small Insert Table window, input 3 in the Number of columns box and then 1 in the Number of rows box.
- Click the OK button.
Step 3: Resize the table
You may want to resize the table to 7.5 by 10 inches since these figures correspond to the most commonly used dimensions for brochures. You can resize the table by dragging the handles on the table’s border to resize the table and force it to fit perfectly into the slide. A half-inch will remain for margins.
Alternatively, you can resize the table this way:
- Go to the Table Tools Layout.
- Use the Table Size options to specify your preferred figures.
Step 4: Set the No Fill setting
You have to drag your cursor over all the 3 columns in your table or double-click your table. You will then be directed to the Design tab for the table.
Click Shading to see the available options. Select No Fill.
Step 5: Duplicate the slide
Your brochure should have a front and back (2 screens at least), so you have to duplicate the slide you have been working on to get more slides.
You can duplicate a slide by right-clicking the slide thumbnail (on the left) and then selecting Duplicate Slide from the drop-down menu.
With the addition of the new slide, when you fold your brochure, the first column on the first slide ends up on the front and the last column ends up on the back.
Step 6: Add images
At this point, you can start adding images to your brochure by clicking the Insert tab and then selecting Pictures.
- If you want to add a picture stored locally on your computer, click This Device.
- If you want to add a picture from the web, click Online Pictures.
Add as many images as you consider necessary. Drag the pictures to locations or positions appropriate for them. You may have to resize some pictures to make them fit into certain spots correctly.
Since you added and worked with pictures first before moving on to content, you will find it much easier to determine how texts will fit into individual columns.
TIP: The best brochure images are often a combination of two or more images. For this reason, you may want to use our FREE Online Collage Maker to create a collage based on 2 images.
Step 7: Add some text
It is time you typed some text into the columns on the table. After you type in something, you can drag your cursor over it and then go to the Home tab to access formatting options. For example, under Font, you can select a different font, change the font size used for the text, and so so.
For titles and heading, you may want to use a font slightly larger than fonts in other locations. And you may want to put the texts in those sections in bold.
You can center titles and headings by clicking the icon for Center Alignment.
Step 8: Make further adjustments
You may want to review the images (especially in terms of their sizes) and make further adjustments. You can switch the positions of images, test their sizes, and so on.
If necessary, you can insert blank lines in columns to make some room for images between paragraphs. To insert a single blank line, tap the Enter button on your keyboard.
Step 9: Save and print the brochure
It is time you saved the presentation. Go through File > Save As. Specify the folder to which you want PowerPoint to save the file, select your preferred format for the file, and then click Save.

Or, if you plan to print the brochure immediately, you have to click Print (after clicking File). Select your preferred printer and then specify the appropriate parameters for the printing operation.
- If your printer is capable of printing on both sides of a paper automatically, you will do well to navigate through the Printer Properties or Printer Options and then select Duplex. This way, by selecting this option, your printer gets specific instructions to print the brochure appropriately on a paper’s front and back.
- If your printer lacks a Duplex function that enables it to print on both sides of a paper, then you have to set it to print the brochure’s first slide. Once the pager comes out of your printer, you have to insert it again and set your printer to print the brochure’s second slide.
- If you must print the brochure on a commercial printer (or any printer currently not connected to your computer), it makes sense for you to save the presentation as a PDF file. When it comes to compatibility in terms of file sharing and printing, nothing beats a PDF (Portable Document Format).
- If you are working on a PC running Windows 10, then you may want to use Microsoft Print to PDF option. Go through File > Print, click the drop-down menu under Print, and then select Microsoft Print to PDF.
And that’s it on creating and designing brochures in PowerPoint.
Posted inAspose.Slides App Product FamilyTags: PowerPoint, PowerPoint brochure, PowerPoint poster, PowerPoint template, brochure